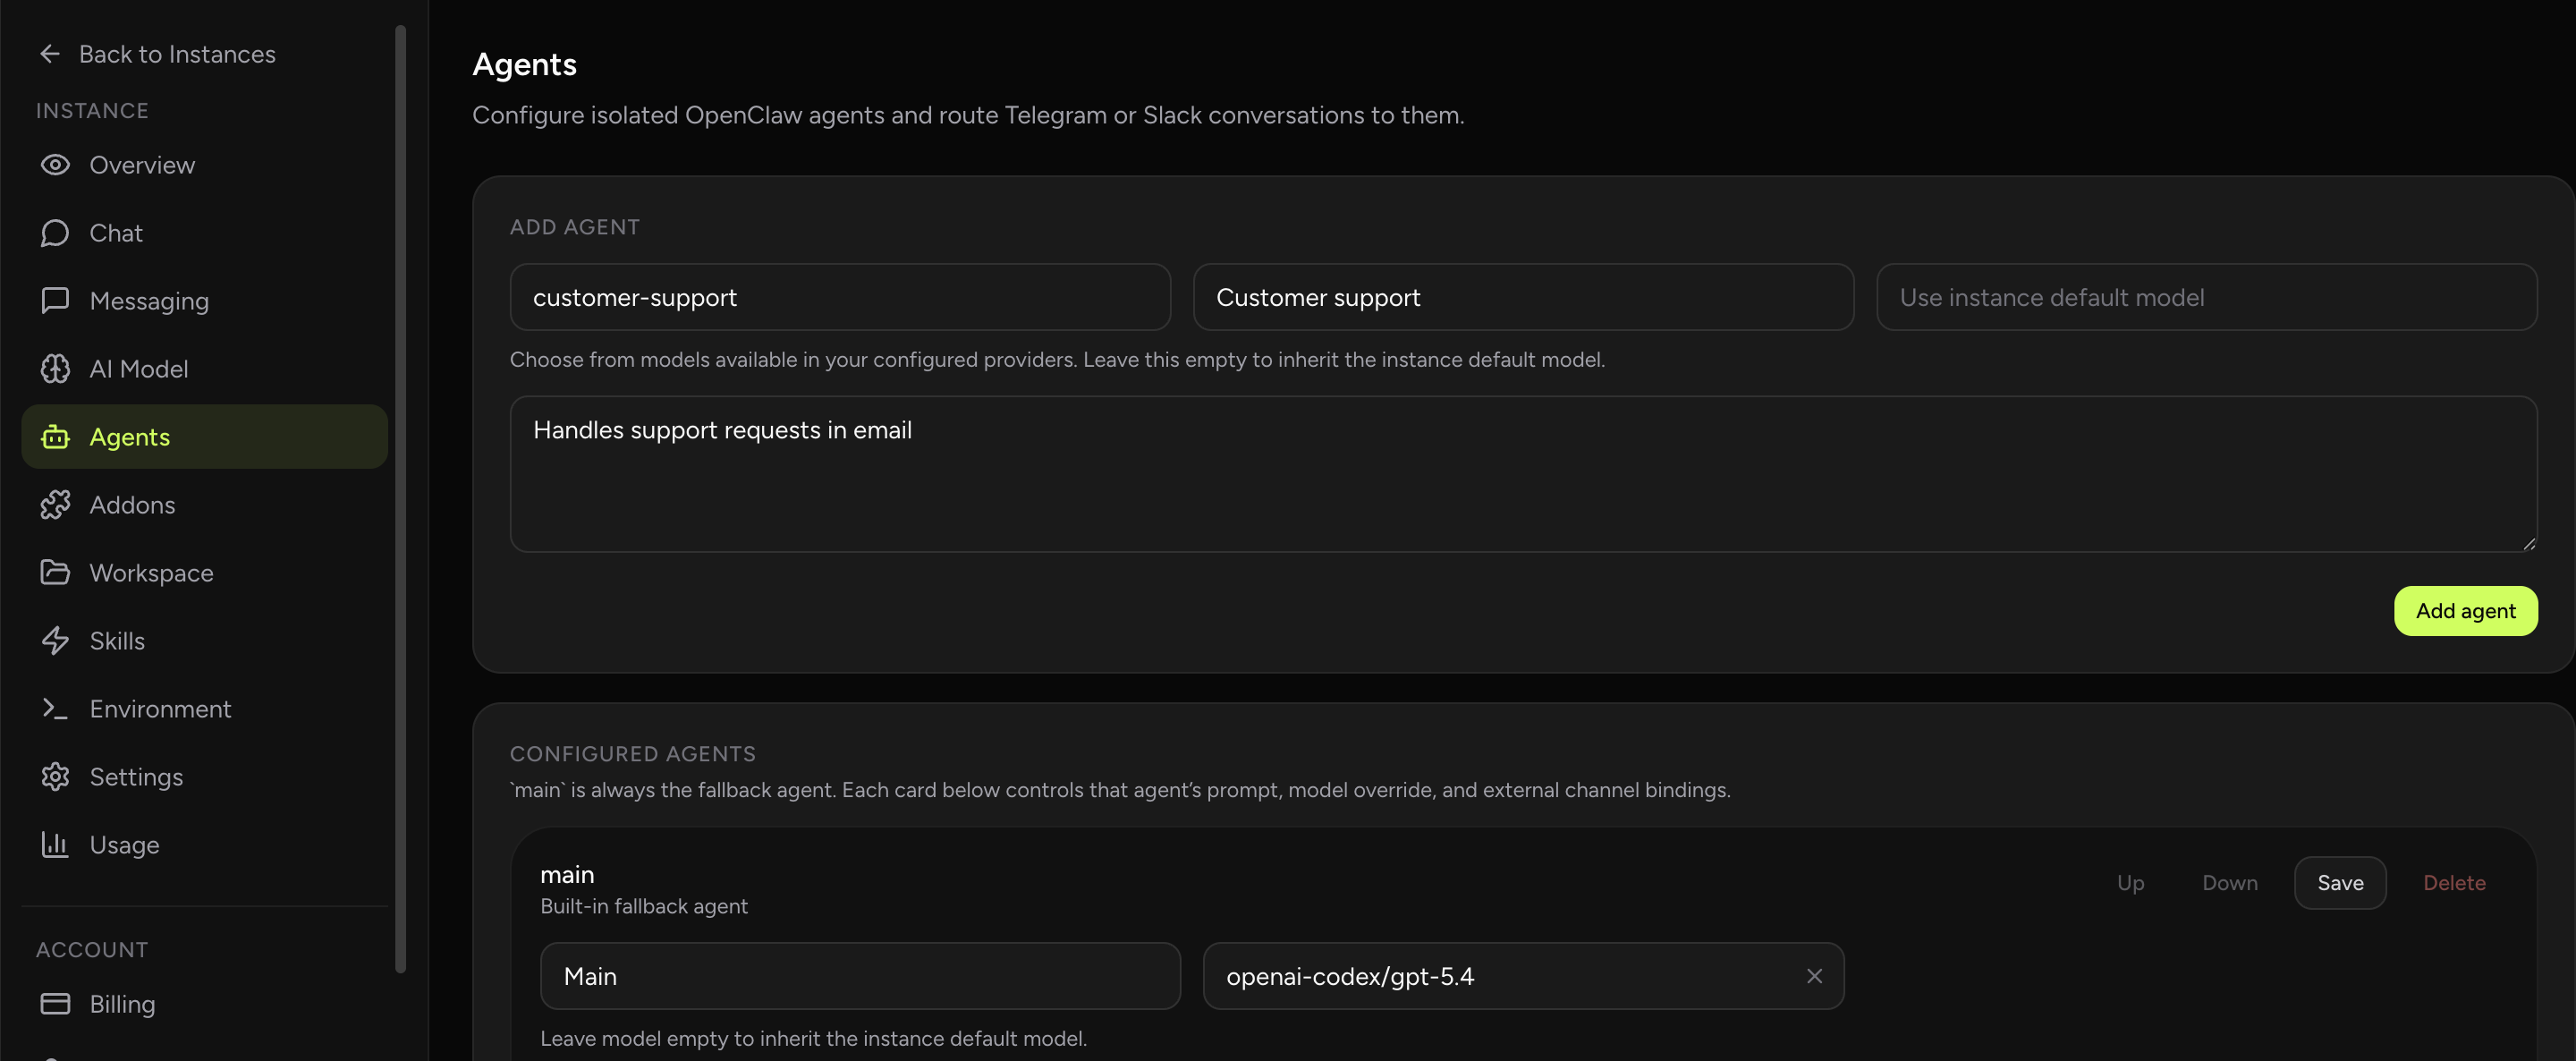
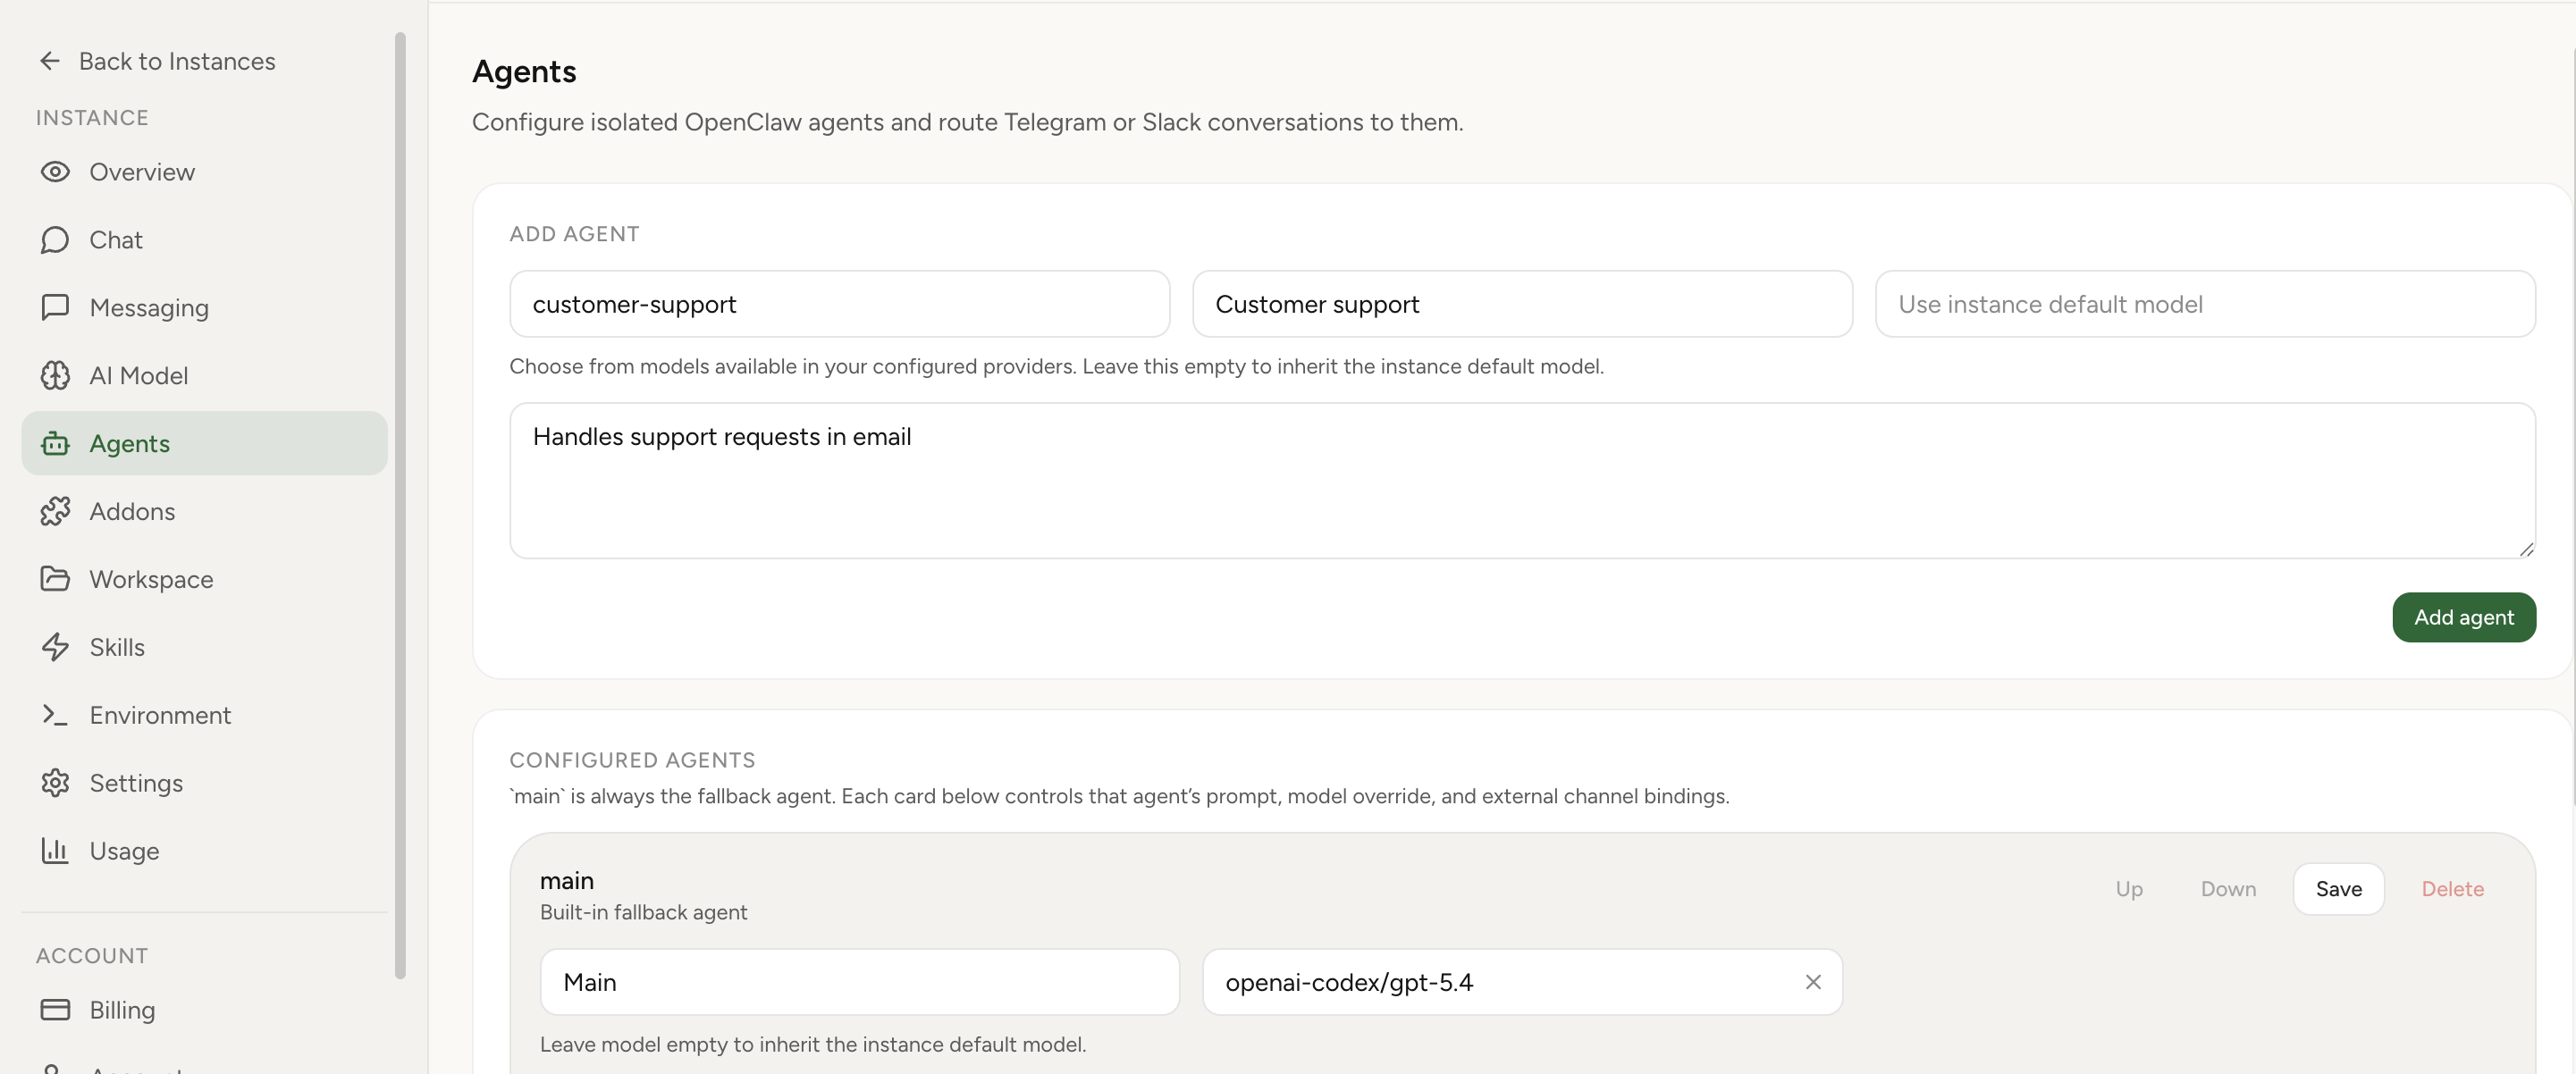
Add agents, adjust model behavior, and configure routing from one screen.
Create separate OpenClaw agents for different roles without managing separate installs. Use each agent directly in Built-In Chat, or route Telegram and Slack conversations to the right one from a single hosted dashboard.
If one general-purpose agent is starting to mix your work, support, research, and operations context together, this gives you cleaner separation without the overhead of running multiple full environments.
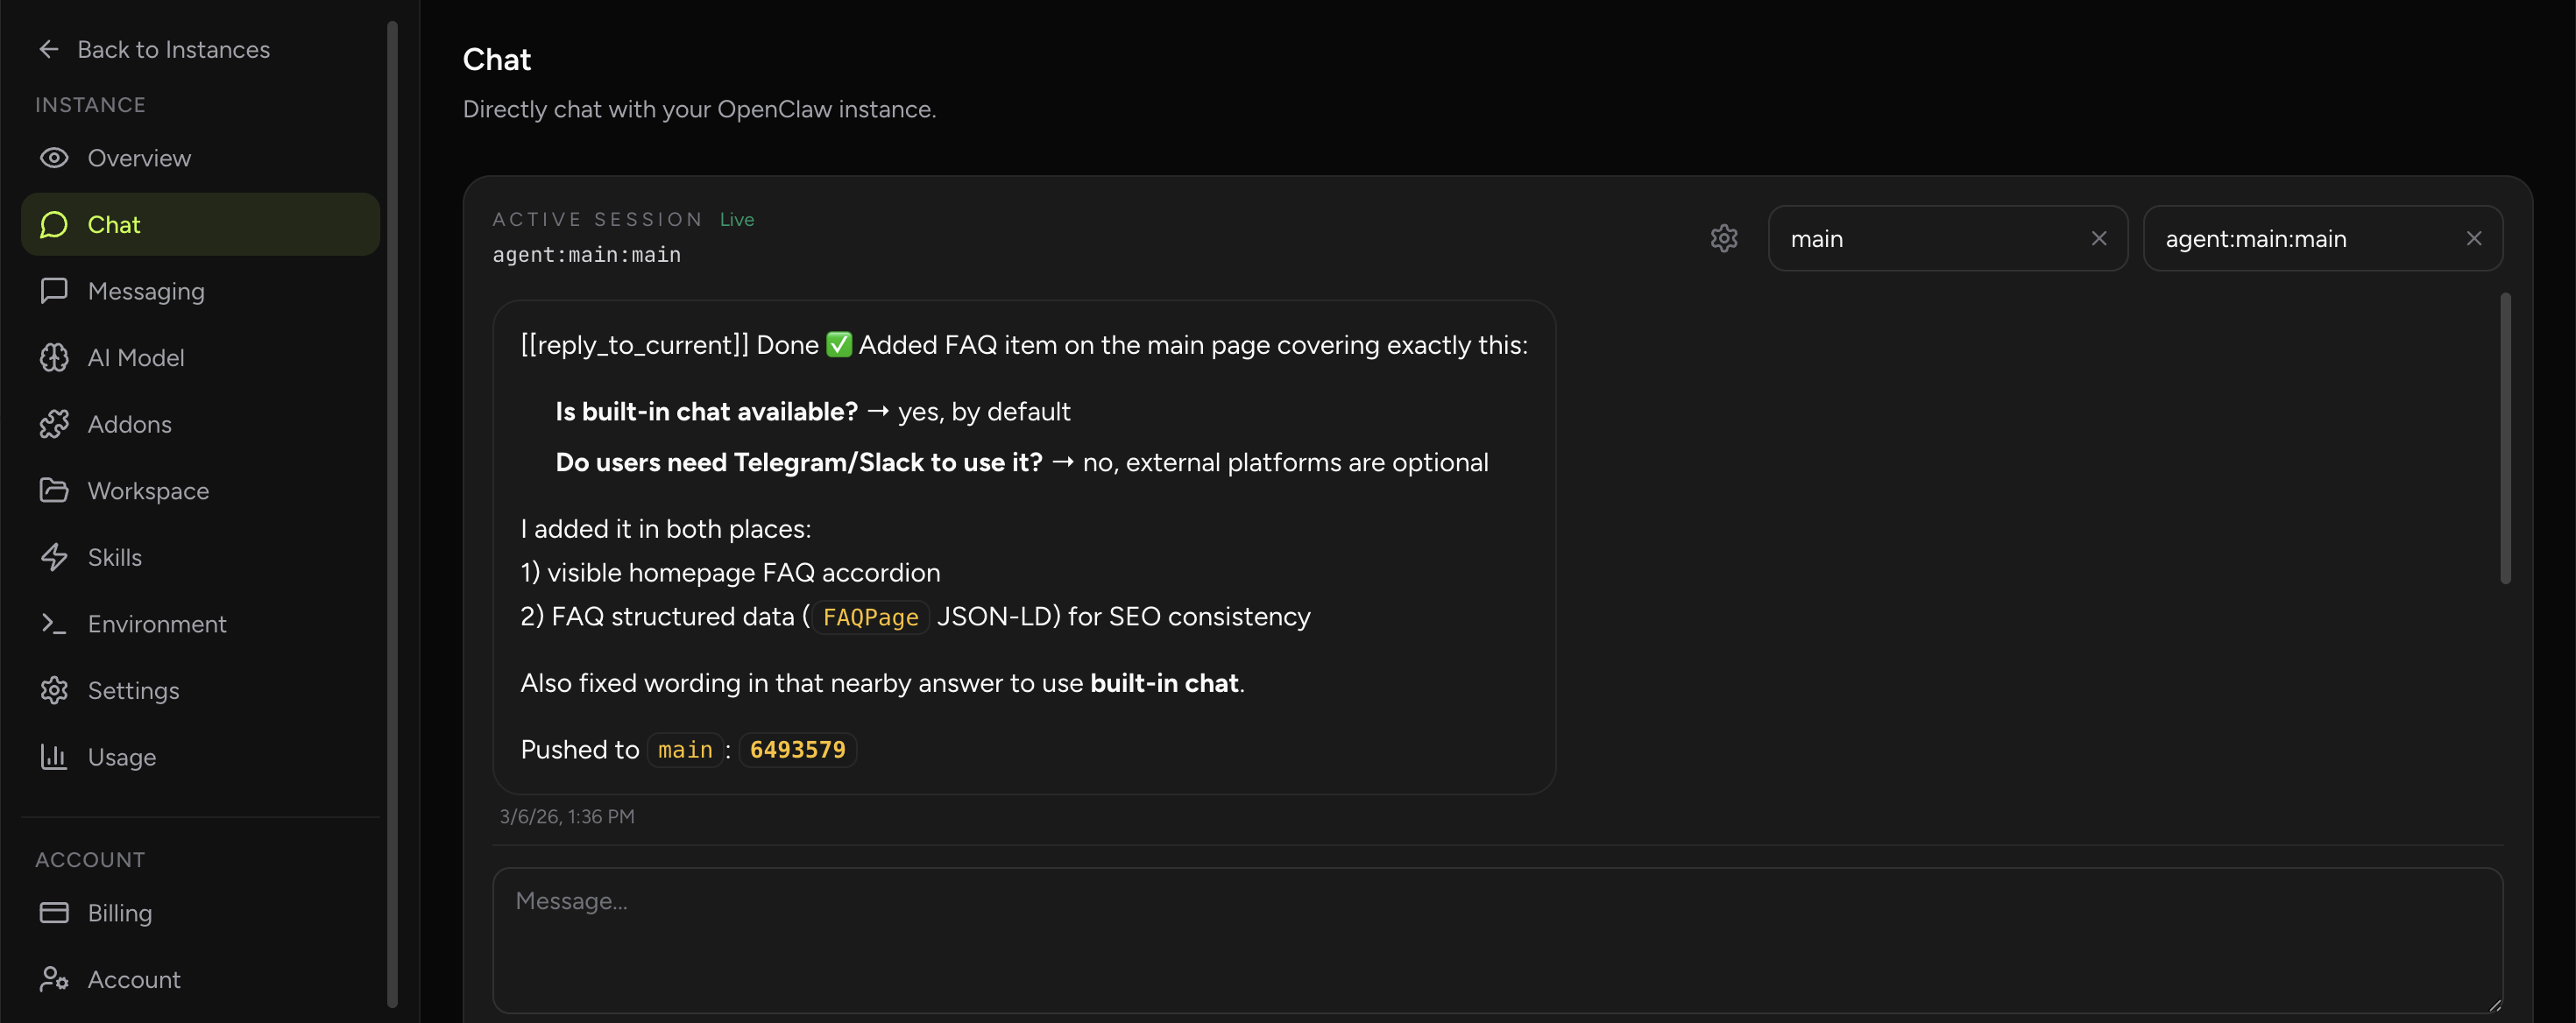
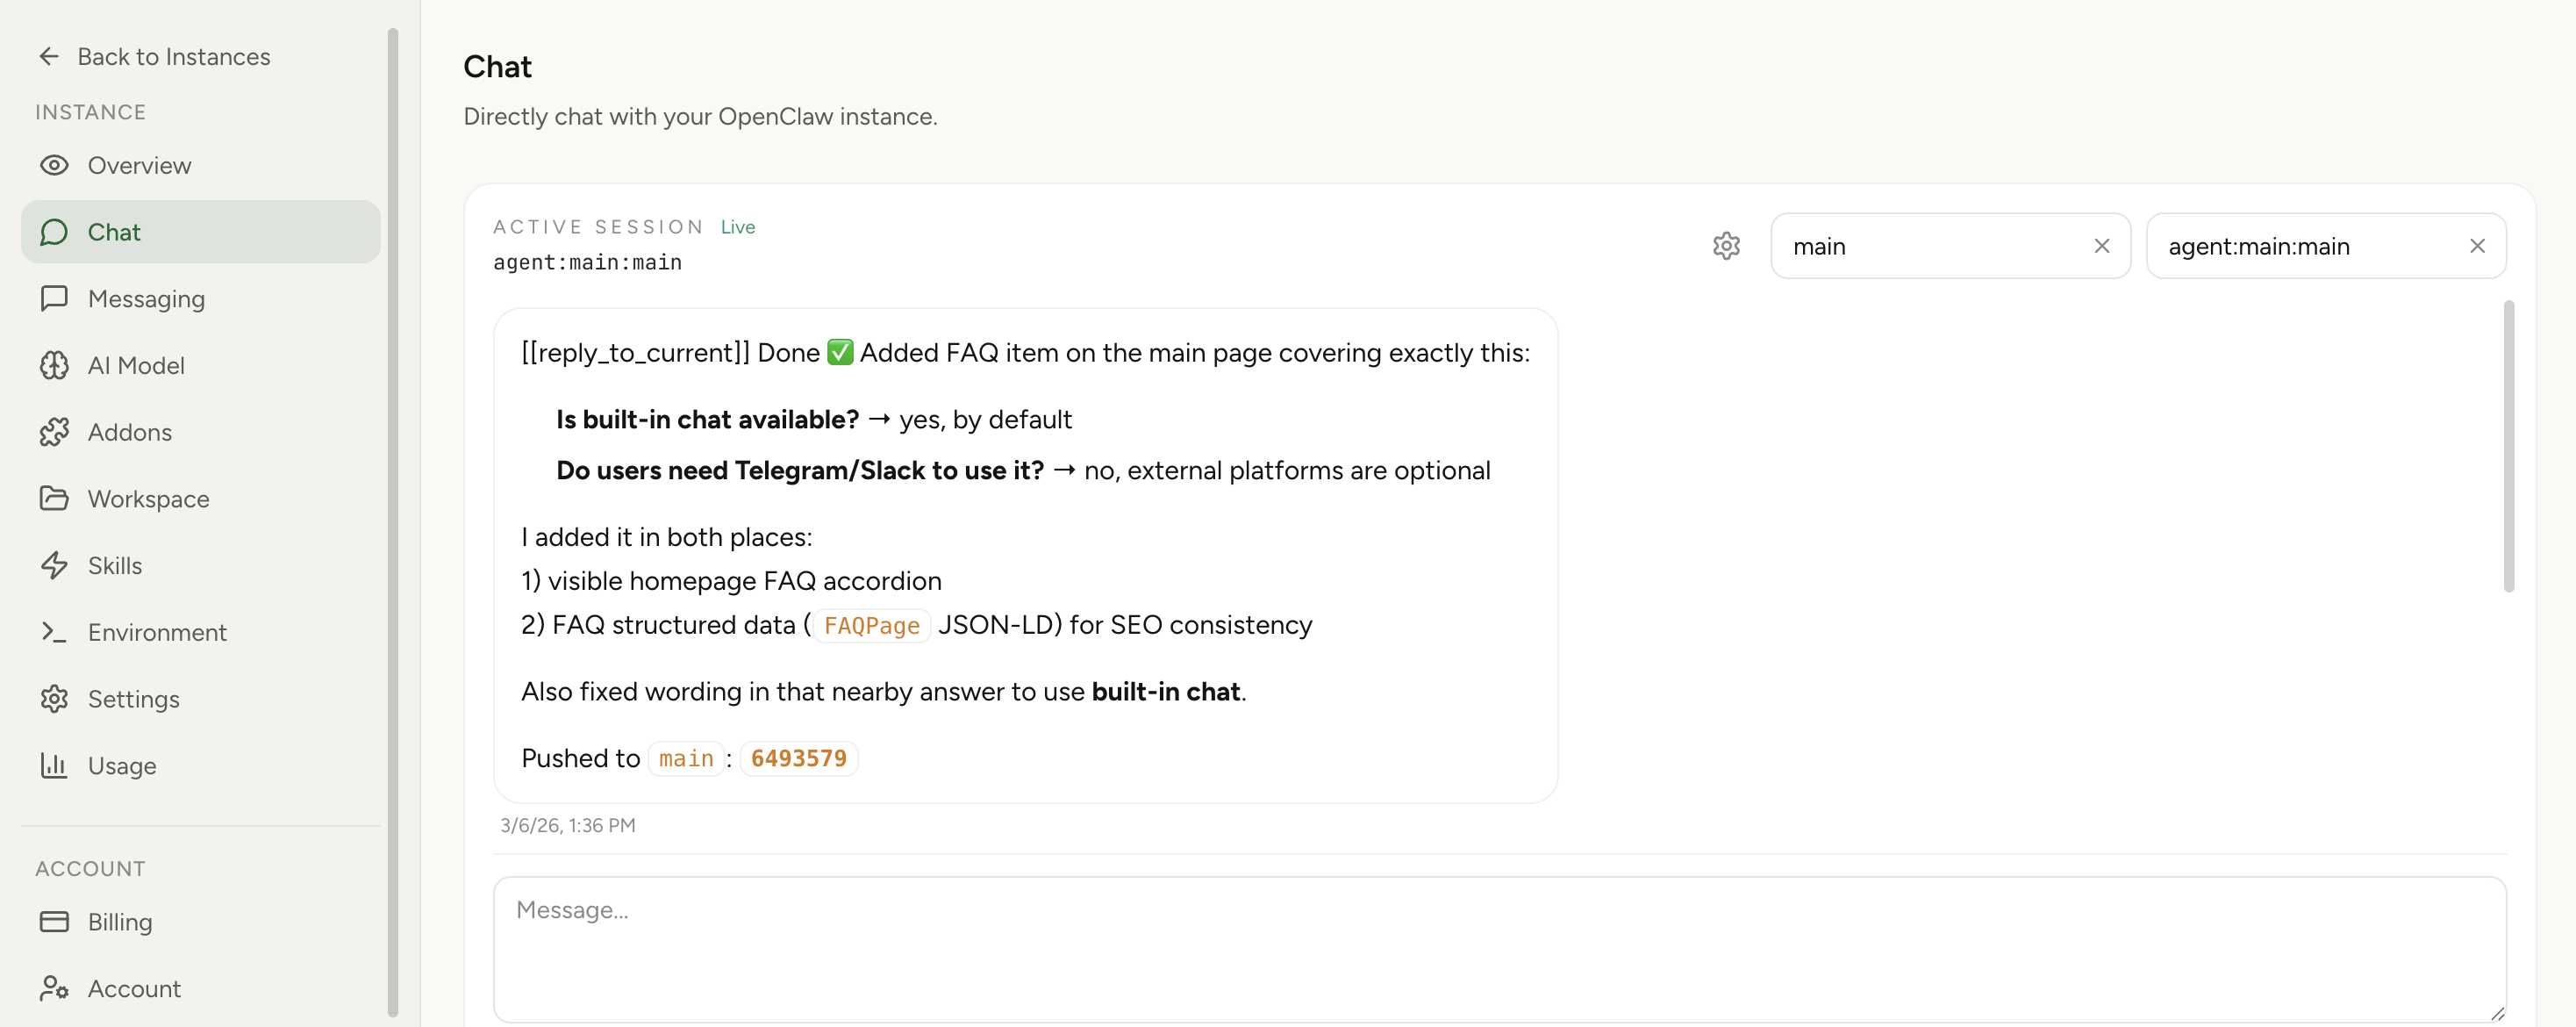
Pick the agent you want in chat and start working immediately. External routing is optional.
Each agent keeps its own workspace, sessions, role, and optional default model.
Keep one hosted instance, create multiple specialist agents, and manage routing from one dashboard.
One agent ends up holding founder tasks, support requests, research notes, and operational instructions all at once. The result is more confusion, weaker role discipline, and worse responses.
Running a whole new environment for every specialist role is expensive in attention. Most teams want role separation without multiplying hosting, setup, and maintenance overhead.
When Telegram and Slack conversations should reach different specialists, hand-editing config becomes a tax. A dashboard flow is easier to reason about and easier to keep correct.
This is the right setup when you want one managed OpenClaw environment but more than one role inside it. Typical patterns include founder assistant + research agent, support triage + ops helper, or personal + work lanes that should not constantly mix context. If you are still deciding whether managed hosting is the right entry point, start with the main OpenClaw setup guide first.
The value is not “more agents” by itself. The value is clearer role separation, easier routing, and less mental overhead while still keeping the managed-hosting simplicity that brought you here in the first place.
The best part is that you do not need to start with Telegram or Slack to benefit from multiple agents. In OpenClaw Setup, you can choose the agent you want directly in Built-In Chat and begin using that role immediately.
In OpenClaw Setup, channel binding is optional in order to start playing with multi-agent OpenClaw. Once you configured the agents, you can message them right away using our Built-In Chat.
Once the roles are working in Built-In Chat, you can wire external conversations into them. That means certain Telegram or Slack conversations can go directly to the right specialist instead of always falling into one default lane.
main stays available as the fallback when no explicit route matches.You decide which conversations belong to which specialist. The dashboard stores that mapping for you, so you do not need to hand-edit bindings every time you change structure.
You get meaningful role separation where it helps behavior and context, without paying the full operational cost of turning every specialist into its own standalone environment.
Multi-agent setup is easily configured in OpenClaw Setup via the Agents tab — add new agents, customize their behavior, and route conversations from one screen. Screenshots below.
Yes. Built-In Chat is the simplest starting point. Just choose the agent you want and start working.
Yes. That is the point of the feature: keep role-specific context and history cleaner inside one managed instance.
The hosted environment, billing, and some provider setup remain shared per instance in the current version.
The main agent remains the fallback, so you always keep a default lane.
Use separate agents from Built-In Chat first, then add Telegram or Slack routing when you need it.