Avoid fake OpenClaw installers: practical verification and migration playbook
Problem statement: more teams are discovering that searching "OpenClaw installer" can lead to cloned repositories and poisoned binaries. You think you are installing the official tool, but you are actually executing malware or handing over secrets. This guide explains how to verify downloads, detect early compromise signals, recover safely, and migrate your working setup without starting from zero.
- Malwarebytes (2026-03-04) documented fake OpenClaw installers promoted via search pathways.
- Huntress (updated March 2026) analyzed malicious GitHub installer campaigns and payload behavior.
- The Register (2026-03-04) covered social proof abuse via trusted hosting brands.
- Hacker News discussion shows widespread concern about trust and secure onboarding for AI agents.
Why this threat is different from normal download risk
Fake installer campaigns are effective because they attack trust shortcuts. People trust platform logos, star counts, and search ranking positions. The attacker does not need an advanced exploit if they can make you run the wrong executable voluntarily.
For OpenClaw users, the impact can be severe: tokens, API credentials, browser sessions, and local automation context may all be exposed. That means this is not only an endpoint security issue. It becomes a business continuity issue if your agent environment touches production tools.
How fake installer traps are usually structured
- Name mimicry: repository names close to official project naming.
- UI mimicry: copied README and installation instructions to appear legitimate.
- Distribution shortcut: direct binary download with urgency wording.
- Social confidence trick: references to popular community keywords to rank in search.
- Post-execution silence: installer appears to run, but hidden payload persists in background.
The safe setup protocol you should use every time
1) Start from official docs, not from search results
Begin at the official OpenClaw documentation and official repository links. This small habit eliminates most poisoning attempts.
2) Verify release origin and identity
- Confirm organization owner and repository URL exactly match official sources.
- Review release author identity and recent repository activity.
- Avoid binaries hosted in unexpected mirrors or personal forks.
3) Validate artifact integrity
Compare checksums and signatures when available. If integrity metadata is missing, treat the artifact as untrusted. Fast install is never worth persistent compromise.
4) Install in a contained environment first
Use a disposable VM or isolated host for first-run validation. Observe network behavior and process tree before installing on a machine with real credentials.
5) Apply least-privilege defaults
- Do not run installers as admin unless strictly required.
- Use scoped tokens with short lifetimes.
- Avoid sharing long-lived secrets with unverified tool chains.
6) Keep a clean rollback path
Snapshot your environment before major install or upgrade actions. If behavior looks suspicious, you can recover quickly without guessing what changed.
Rapid diagnosis: signs your machine may be compromised
- Unexpected background processes after installer run.
- New persistence tasks/services with unclear origin.
- Token or account activity from unknown IPs/devices.
- Firewall or proxy changes you did not initiate.
- Sudden outbound traffic spikes to unknown endpoints.
One signal alone may be benign. Several together should trigger immediate containment.
What to do in the first hour after suspicion
Containment (0–15 minutes)
- Disconnect affected host from network.
- Stop automation jobs that might leak additional secrets.
- Preserve logs and execution artifacts for investigation.
Credential response (15–40 minutes)
- Rotate OpenClaw-related API keys and tokens from a clean device.
- Invalidate suspicious sessions in integrated services.
- Reissue credentials with narrower permission scope.
Recovery (40–60 minutes)
- Rebuild runtime on trusted infrastructure.
- Import only validated configuration and non-sensitive context.
- Run a controlled acceptance test before reconnecting production integrations.
Edge cases teams often miss during recovery
- Stolen browser session cookies: rotating API tokens is not enough if browser sessions remain active.
- Cross-tool credential reuse: one compromised key can unlock multiple environments.
- Delayed beaconing: malware may wait hours before outbound communication.
- False confidence from antivirus: low detection rates are common in early campaign stages.
- Recontamination: reusing old install scripts or shell history can reintroduce risk.
Migration path that reduces repeated security overhead
If your team repeatedly spends time on host hardening, patch windows, and incident handling, migration is not just convenience. It is risk reduction. Start with a direct comparison at /compare/, review managed deployment details at /openclaw-cloud-hosting/, and keep self-hosted baseline references at /openclaw-setup/.
Fix once. Stop recurring installer trust and credential-risk incidents.
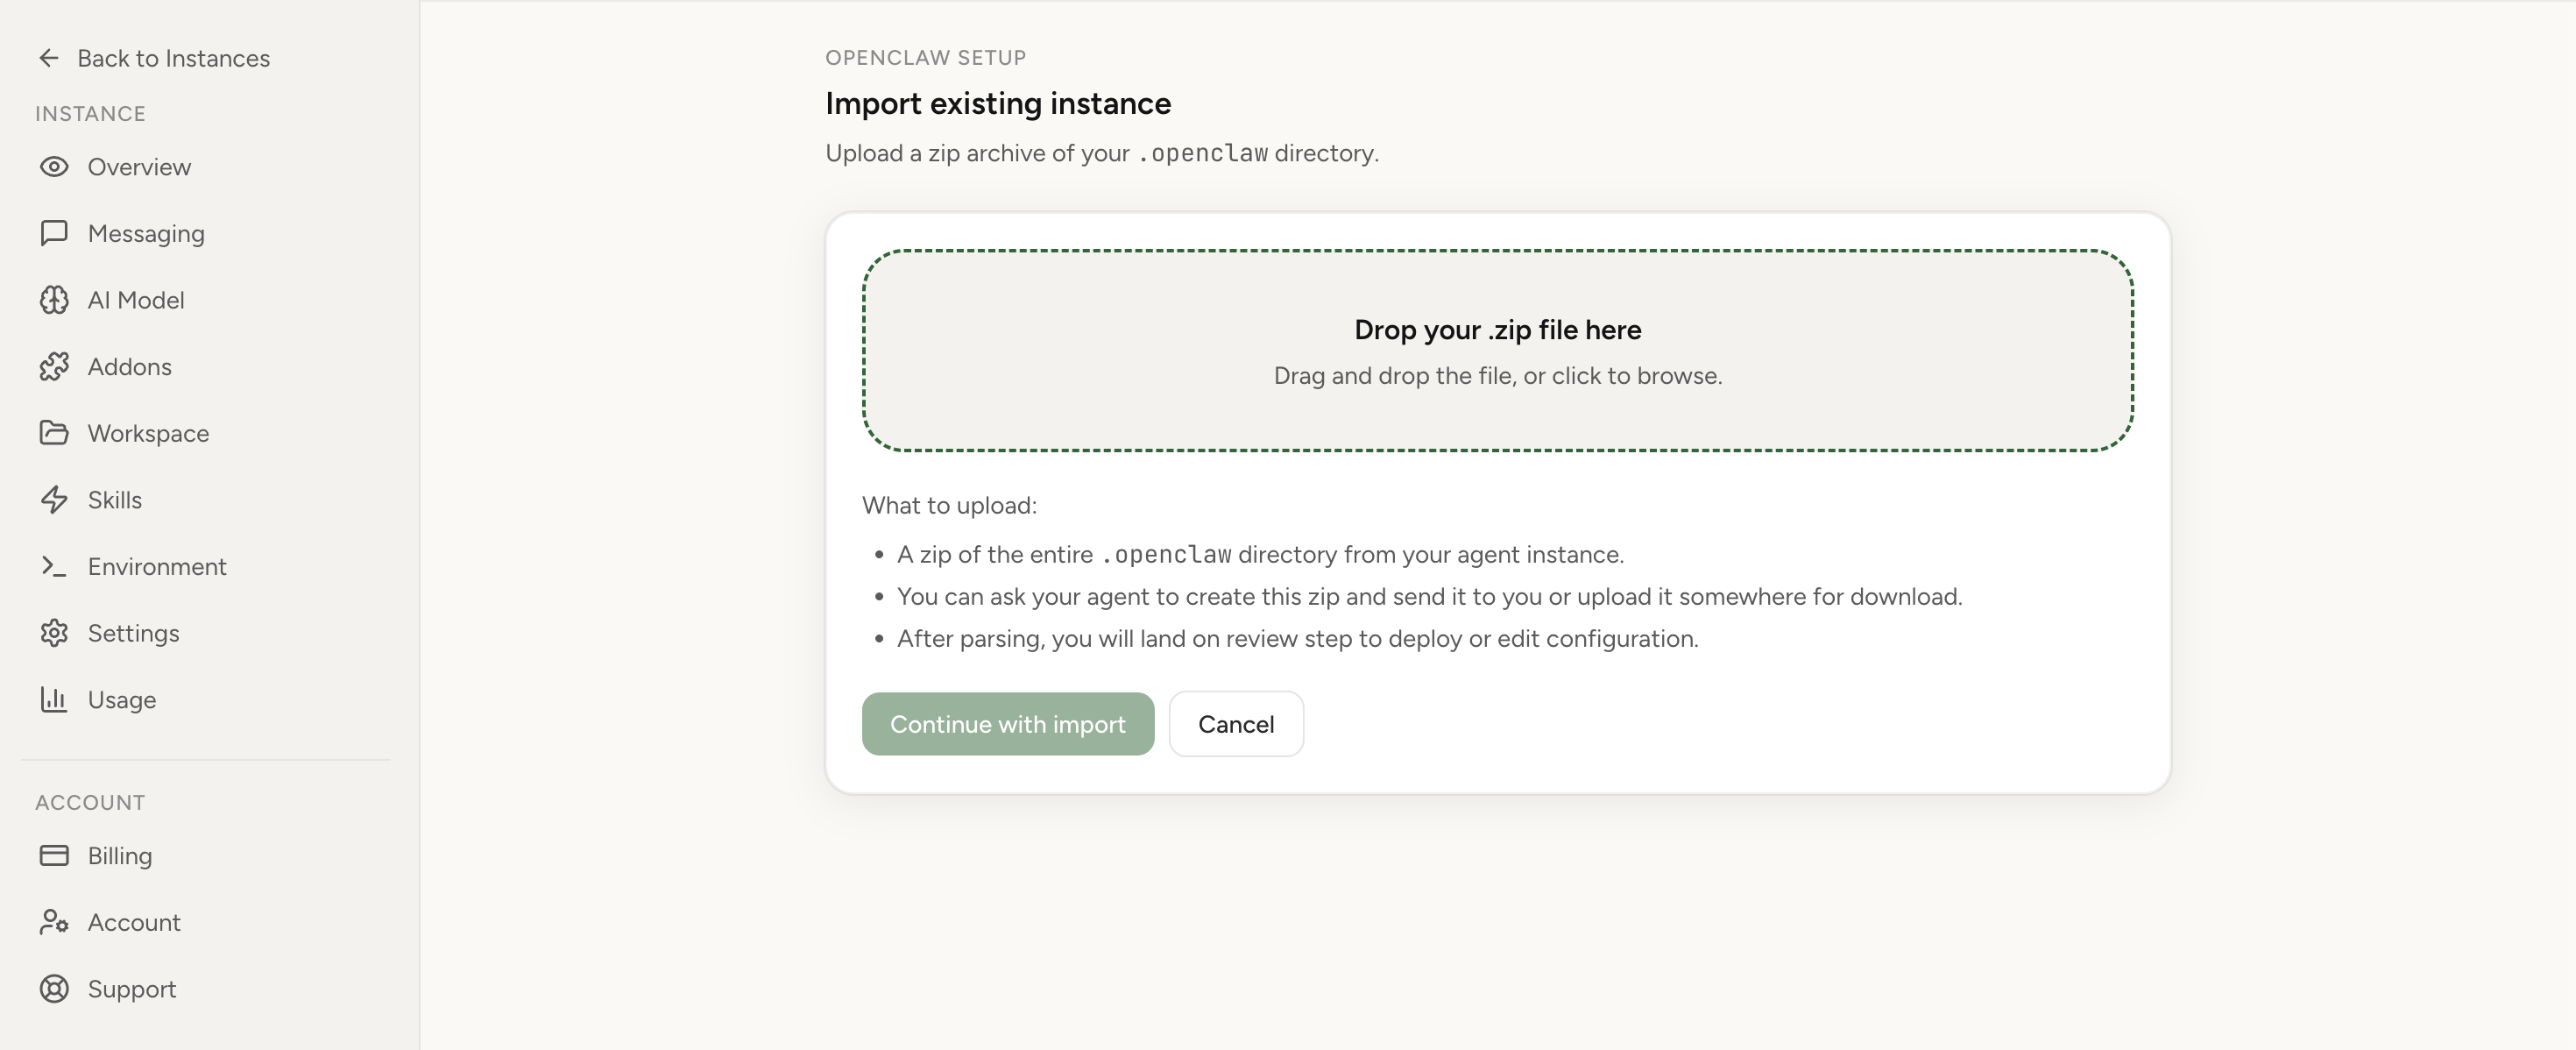
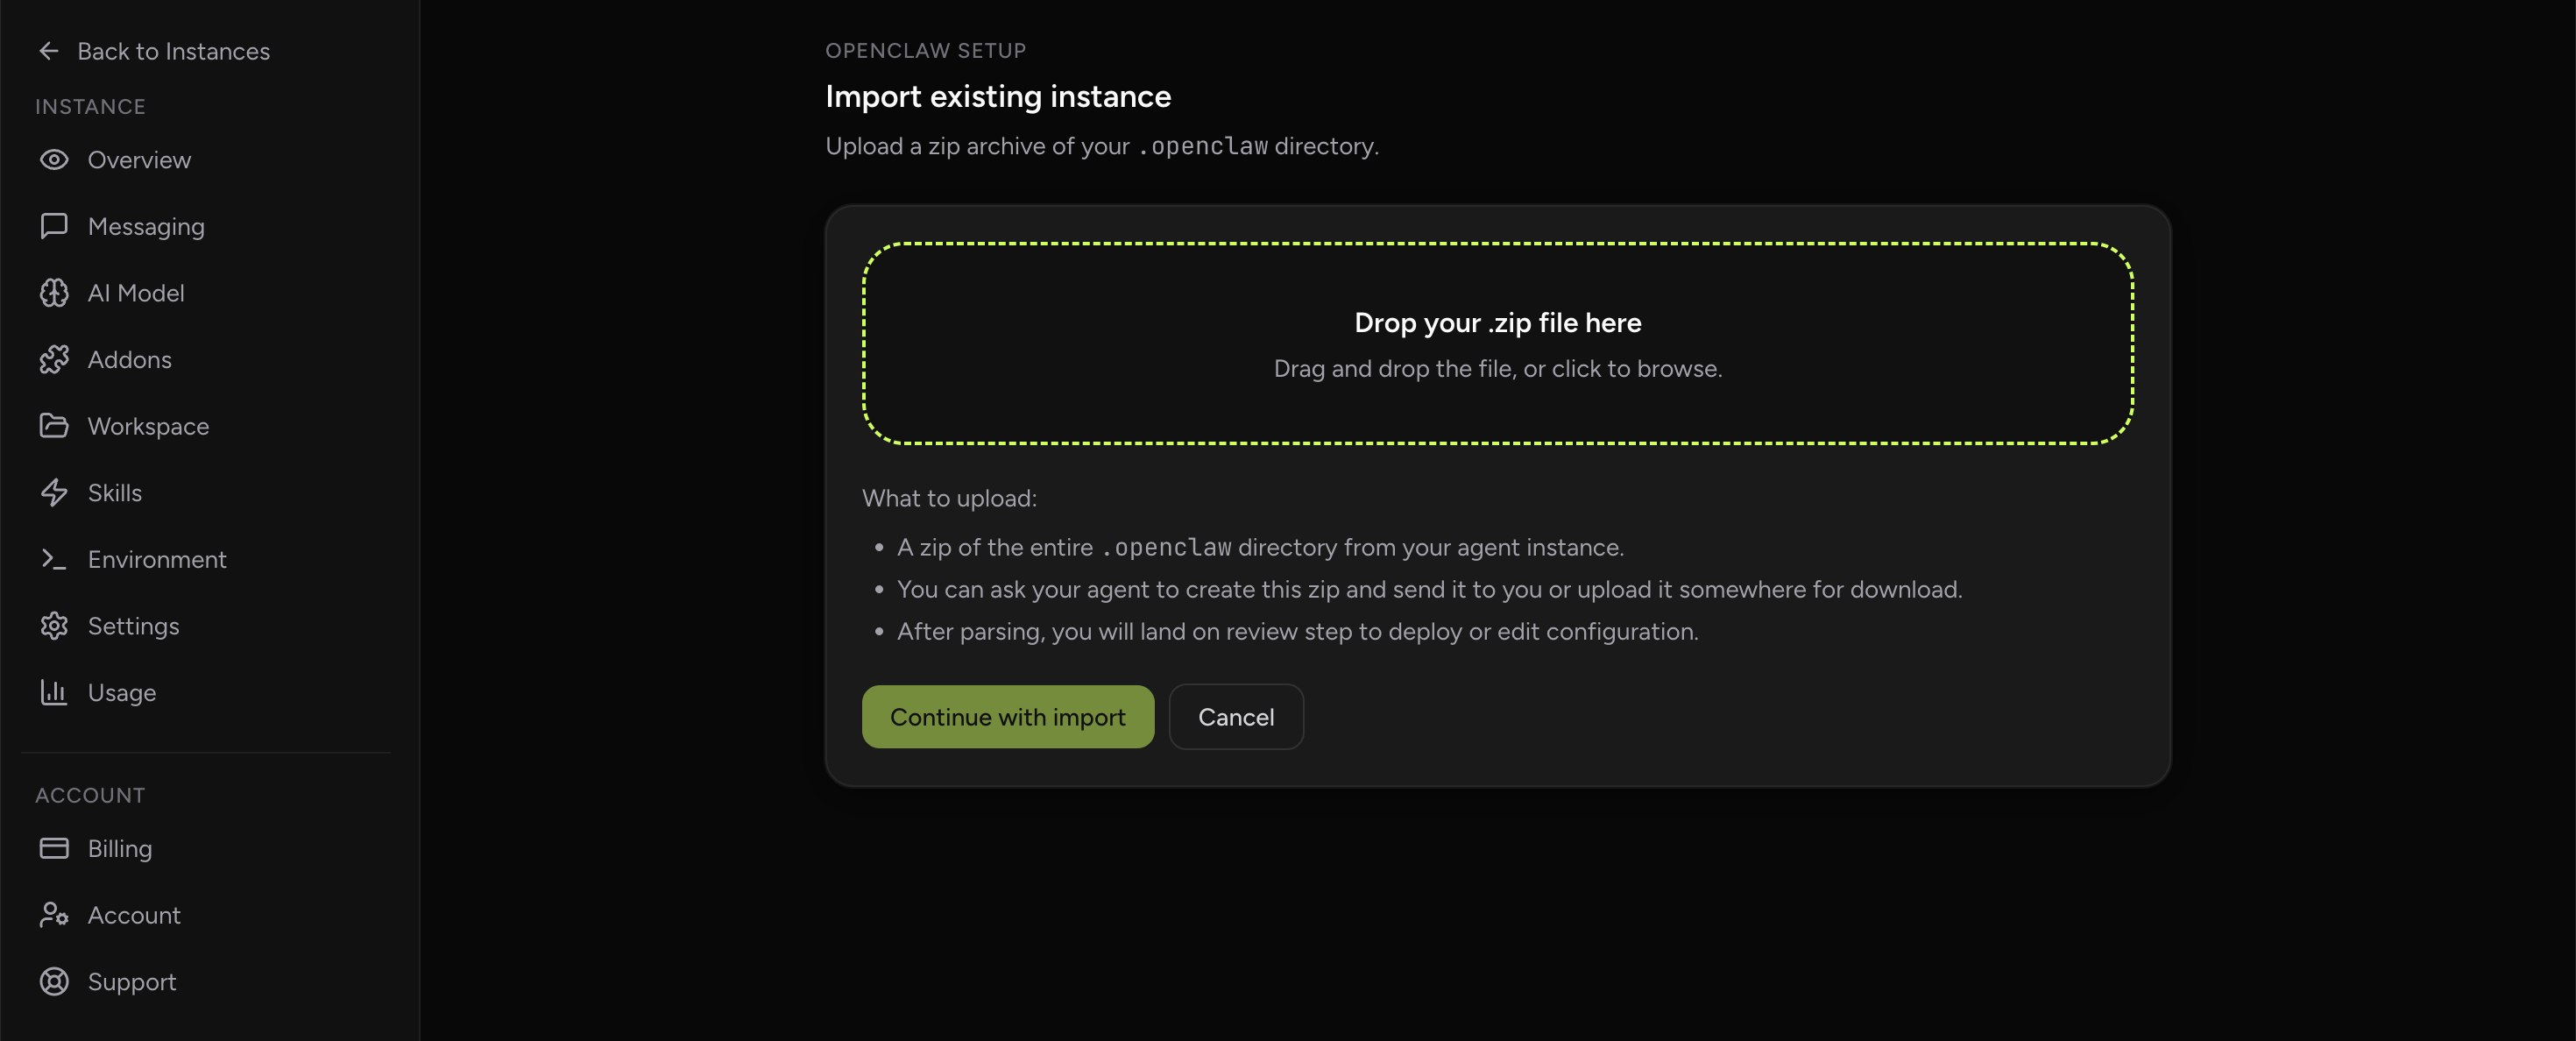
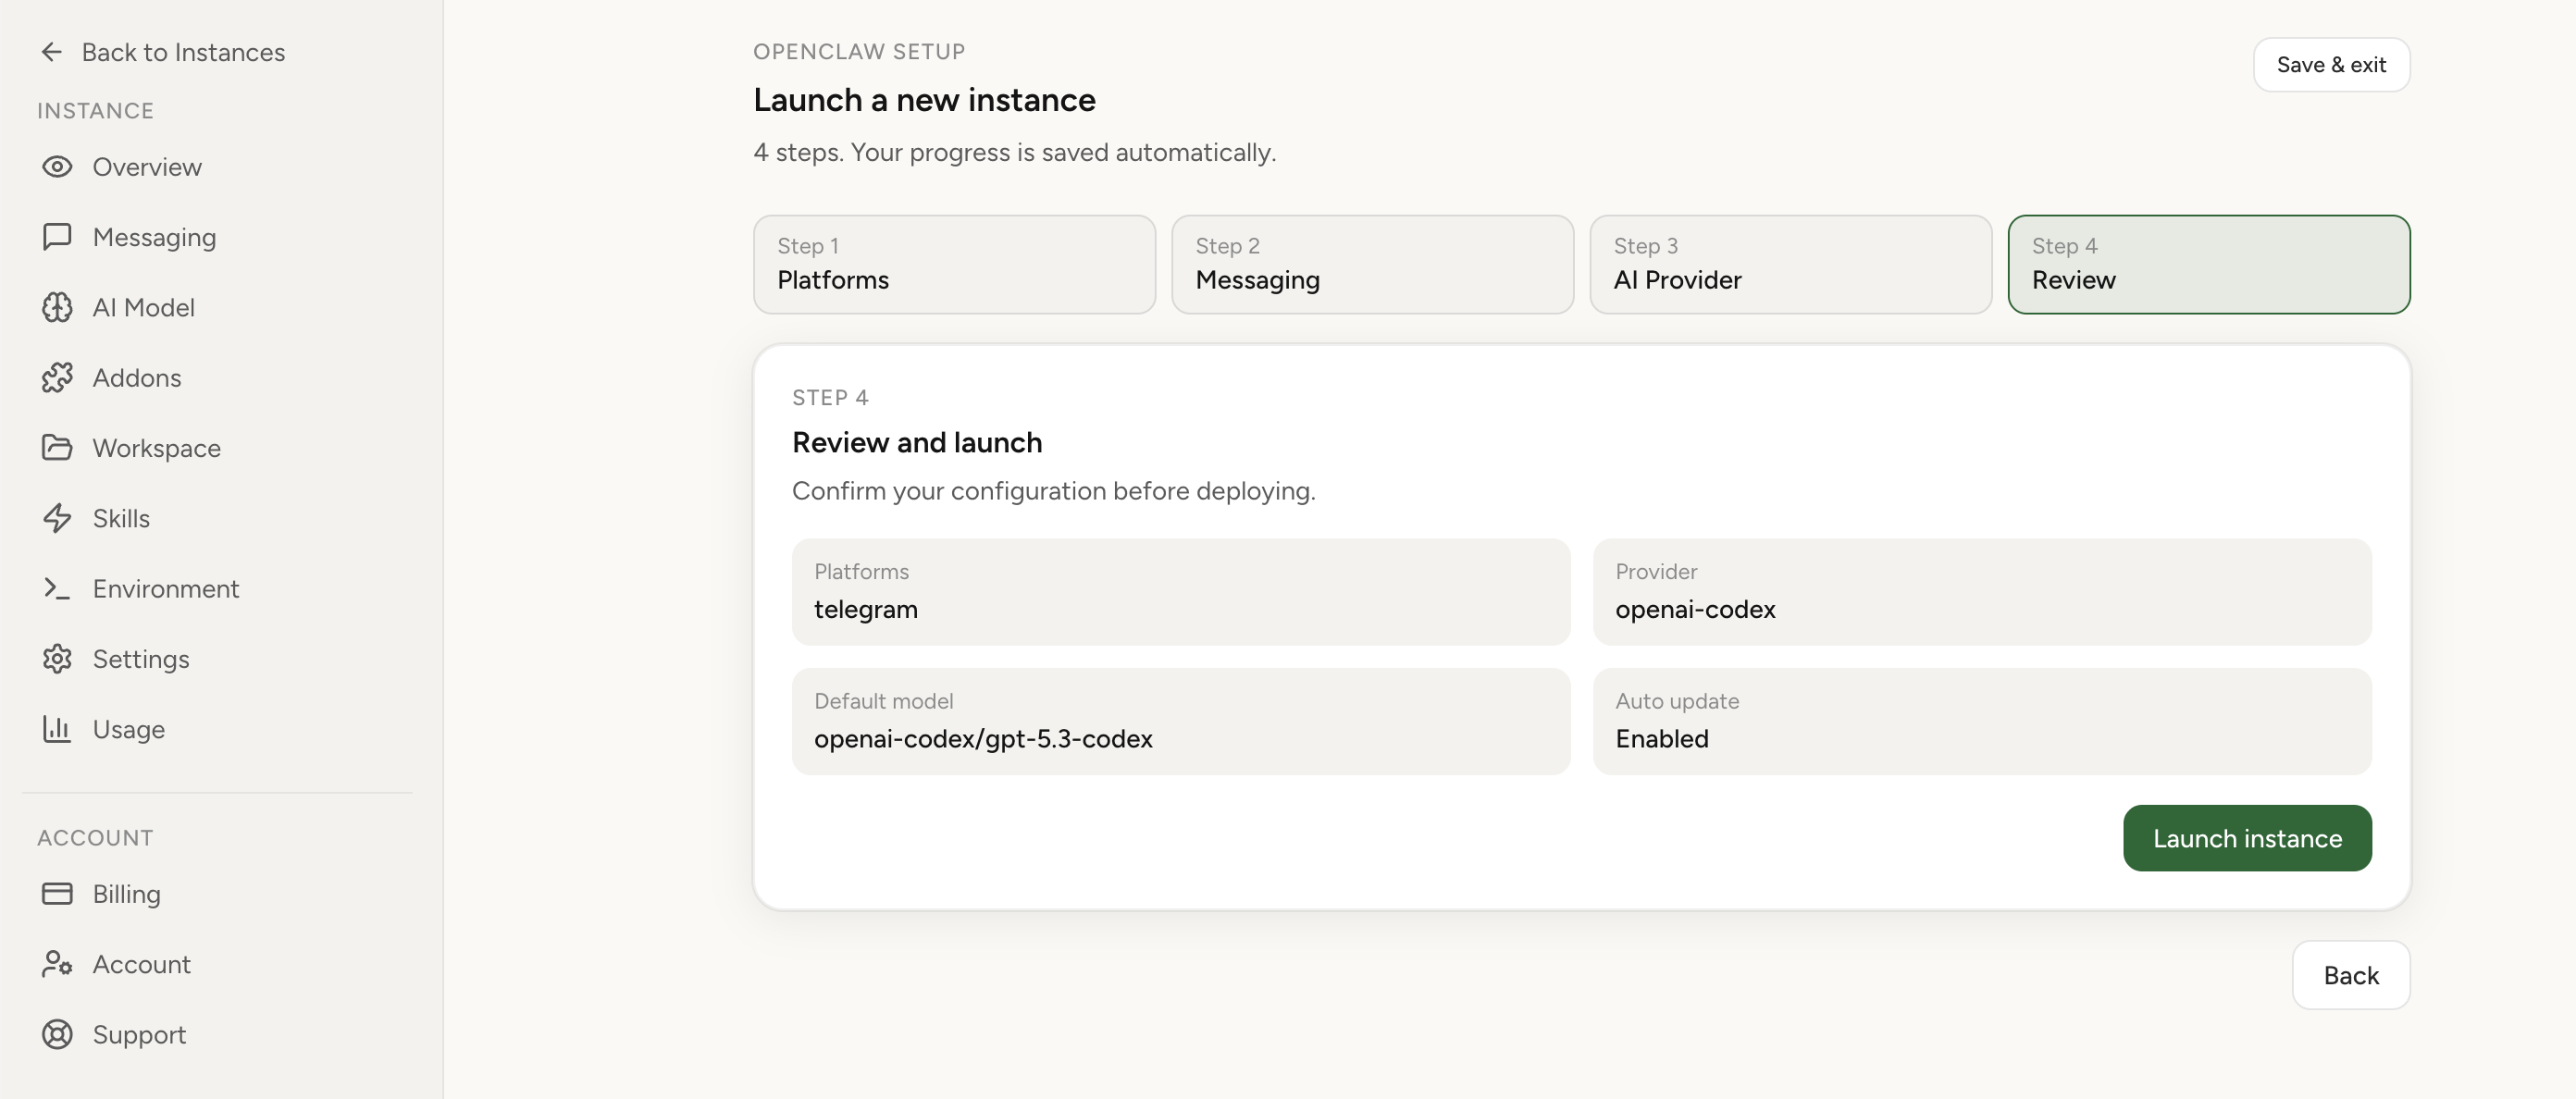
If this keeps coming back, you can move your existing setup to managed OpenClaw cloud hosting instead of rebuilding the same stack. Import your current instance, keep your context, and move onto a runtime with lower ops overhead.
- Import flow in ~1 minute
- Keep your current instance context
- Run with managed security and reliability defaults
If you would rather compare options first, review OpenClaw cloud hosting or see the best OpenClaw hosting options before deciding.
Keep your progress, reduce exposure, and resume agent workflows with managed security and predictable operations.
Import your current OpenClaw instance in 1 click Secure local-tab actions with Chrome Extension relay
Verification checklist before returning to normal operations
- All affected credentials rotated and old sessions invalidated.
- No suspicious persistence artifacts remain on rebuilt systems.
- OpenClaw install path confirmed against official sources only.
- Critical automations pass end-to-end tests on clean runtime.
- Team has documented a trusted-install standard for future onboarding.
Common mistakes that keep teams vulnerable
- Assuming "GitHub-hosted" automatically means safe.
- Rotating one key but leaving related tokens untouched.
- Skipping environment isolation for first-time installer testing.
- Treating compromised host cleanup as equivalent to clean rebuild.
- Returning to work without documenting a repeatable verification process.
Practical hardening standard for teams onboarding new members
Installer safety is not a one-time fix. It should become a team standard, especially when new developers or operators join. New teammates are more likely to rely on search and community snippets, which is exactly where poisoned pathways spread fastest. Build a short onboarding checklist that everyone follows:
- Use only approved OpenClaw source links from internal docs.
- Never execute direct binaries from unknown repositories.
- Validate checksums before first execution.
- Run first install in isolated environment when possible.
- Store and rotate credentials through approved secret workflows.
This removes personal guesswork from a high-risk step. The best security controls are boring, repeatable, and easy to audit.
Decision framework: stay self-hosted or move to managed operations
Many teams ask this after a security scare: should we keep self-hosting or switch? The right answer depends on operational capacity, incident frequency, and tolerance for security ownership.
Stay self-hosted if you already have disciplined patch management, host hardening expertise, and enough engineering bandwidth to maintain secure upgrades without blocking product delivery. Consider managed runtime if security incidents repeatedly interrupt roadmap work, or if your team cannot consistently run hardening and credential rotation at production quality.
You can evaluate this quickly: count the last 30 days of security-related interruptions, estimate total engineering hours spent, and compare that to the cost of managed operations. For many product teams, the hidden cost is not hosting infrastructure itself; it is the unpredictability and context-switching burden.
Migration sequence with minimal downtime
Phase 1: Prepare from a clean control point
Use a verified clean machine to initiate migration. Do not migrate directly from a host with unresolved compromise risk. Export only required configuration and safe context files. Reissue credentials with least privilege before import.
Phase 2: Import and validate
After import, test one end-to-end workflow per critical integration: messaging channel, one automation task, and one browser-assisted action. Confirm that permissions are scoped correctly and that no stale credentials are in use.
Phase 3: Cut over with rollback ready
Use a timed cutover window and keep old environment isolated but available for emergency rollback. Once new runtime passes acceptance checks, revoke old credentials and decommission legacy host paths to reduce residual risk.
Real-world mistakes that create repeat compromise windows
- Trusting stars over provenance: popularity signals are not authenticity proof.
- Skipping credential inventory: teams rotate obvious tokens but miss secondary keys in scripts.
- No post-incident review: without process updates, the same risky behavior returns next month.
- Keeping old host online indefinitely: unresolved systems become future entry points.
- Security guidance without ownership: if no one owns the checklist, no one enforces it.
Operational verification after migration
- Confirmed all business-critical workflows on new runtime.
- Verified no credentials from old environment remain active.
- Enabled alerting for suspicious auth and outbound network anomalies.
- Documented trusted install path for future team members.
- Scheduled periodic review of security posture and token hygiene.
Customer-facing communication template after installer incidents
If your team serves clients, communicate quickly and clearly. Share what happened, what systems were affected, what containment actions were completed, and what users should do next. Keep language factual and actionable. Avoid technical noise that hides the practical outcome. A strong update should include: credential reset guidance, expected service timeline, and confirmation of environment rebuild or migration status.
This transparency protects trust. Silence creates rumors, while overconfident statements create legal and operational risk. Keep updates regular until closure, then publish a concise prevention plan so customers know what changed.
FAQ
Is this risk only relevant for Windows users?
No. Distribution tricks can target any OS. The verification process should be identical across platforms.
Can I continue self-hosting safely after an incident?
Yes, if you rebuild from trusted sources and enforce strict credential hygiene. The key is process discipline, not one-time cleanup.
What is the fastest path to resume operations after containment?
Rebuild on trusted infrastructure, import validated context, and run deterministic acceptance checks before reconnecting external tools.