Secure real-browser access for hosted OpenClaw: a practical security guide
Problem statement: you want the reliability of managed OpenClaw hosting with the ability to control real browser tabs where your authenticated sessions already exist. The challenge is doing this safely: your hosted instance needs a path to your local browser, but you do not want to expose runtime gateways or handle complex networking yourself.
- Teams are moving OpenClaw to managed hosting while still needing browser automation for authenticated workflows.
- Security discussions around AI agent access patterns have made teams more cautious about how browser connections are implemented.
- The relay architecture now supports instance-scoped subdomains and short-lived session tokens as baseline security controls.
The core security challenge: hosted runtime, local browser
When OpenClaw runs locally, browser automation is simple: the runtime and Chrome can share localhost or straightforward networking. When the runtime is hosted and the browser is local, you need a controlled bridge. The naive solution—exposing your gateway directly to the internet—creates unnecessary security risk. The relay pattern solves this by creating a short-lived, scoped connection path instead.
How the Chrome extension relay security model works
The relay architecture is built around three core principles:
1) Gateway stays private, relay is the public surface
Your OpenClaw gateway never needs a public endpoint. The relay backend serves as the only exposed surface, and it only accepts connections that present valid short-lived session tokens. This means the actual gateway credential is never required on the public client side.
2) Short-lived relay session tokens scoped to user + instance
Relay sessions use JSON Web Tokens with a short expiration window (10 minutes by default) and specific claims:
type: chrome-relay-node— identifies this as a relay session credential.sub— the owner user ID, ensuring only the account owner can create sessions.instance_id— ties the session to a specific instance.jti— unique token identifier for revocation tracking.exp— short TTL limits the window for misuse.
3) Instance subdomains avoid double-challenge issues
Earlier relay designs had a subtle problem: if both the relay and the gateway issued challenges, the node would only respond to the first one.
The current design uses instance-specific subdomains (*.relay.openclaw-setup.me) so the relay can extract the instance ID
from the Host header and skip its own challenge. This ensures the gateway token reaches the runtime cleanly.
The complete connection flow, step by step
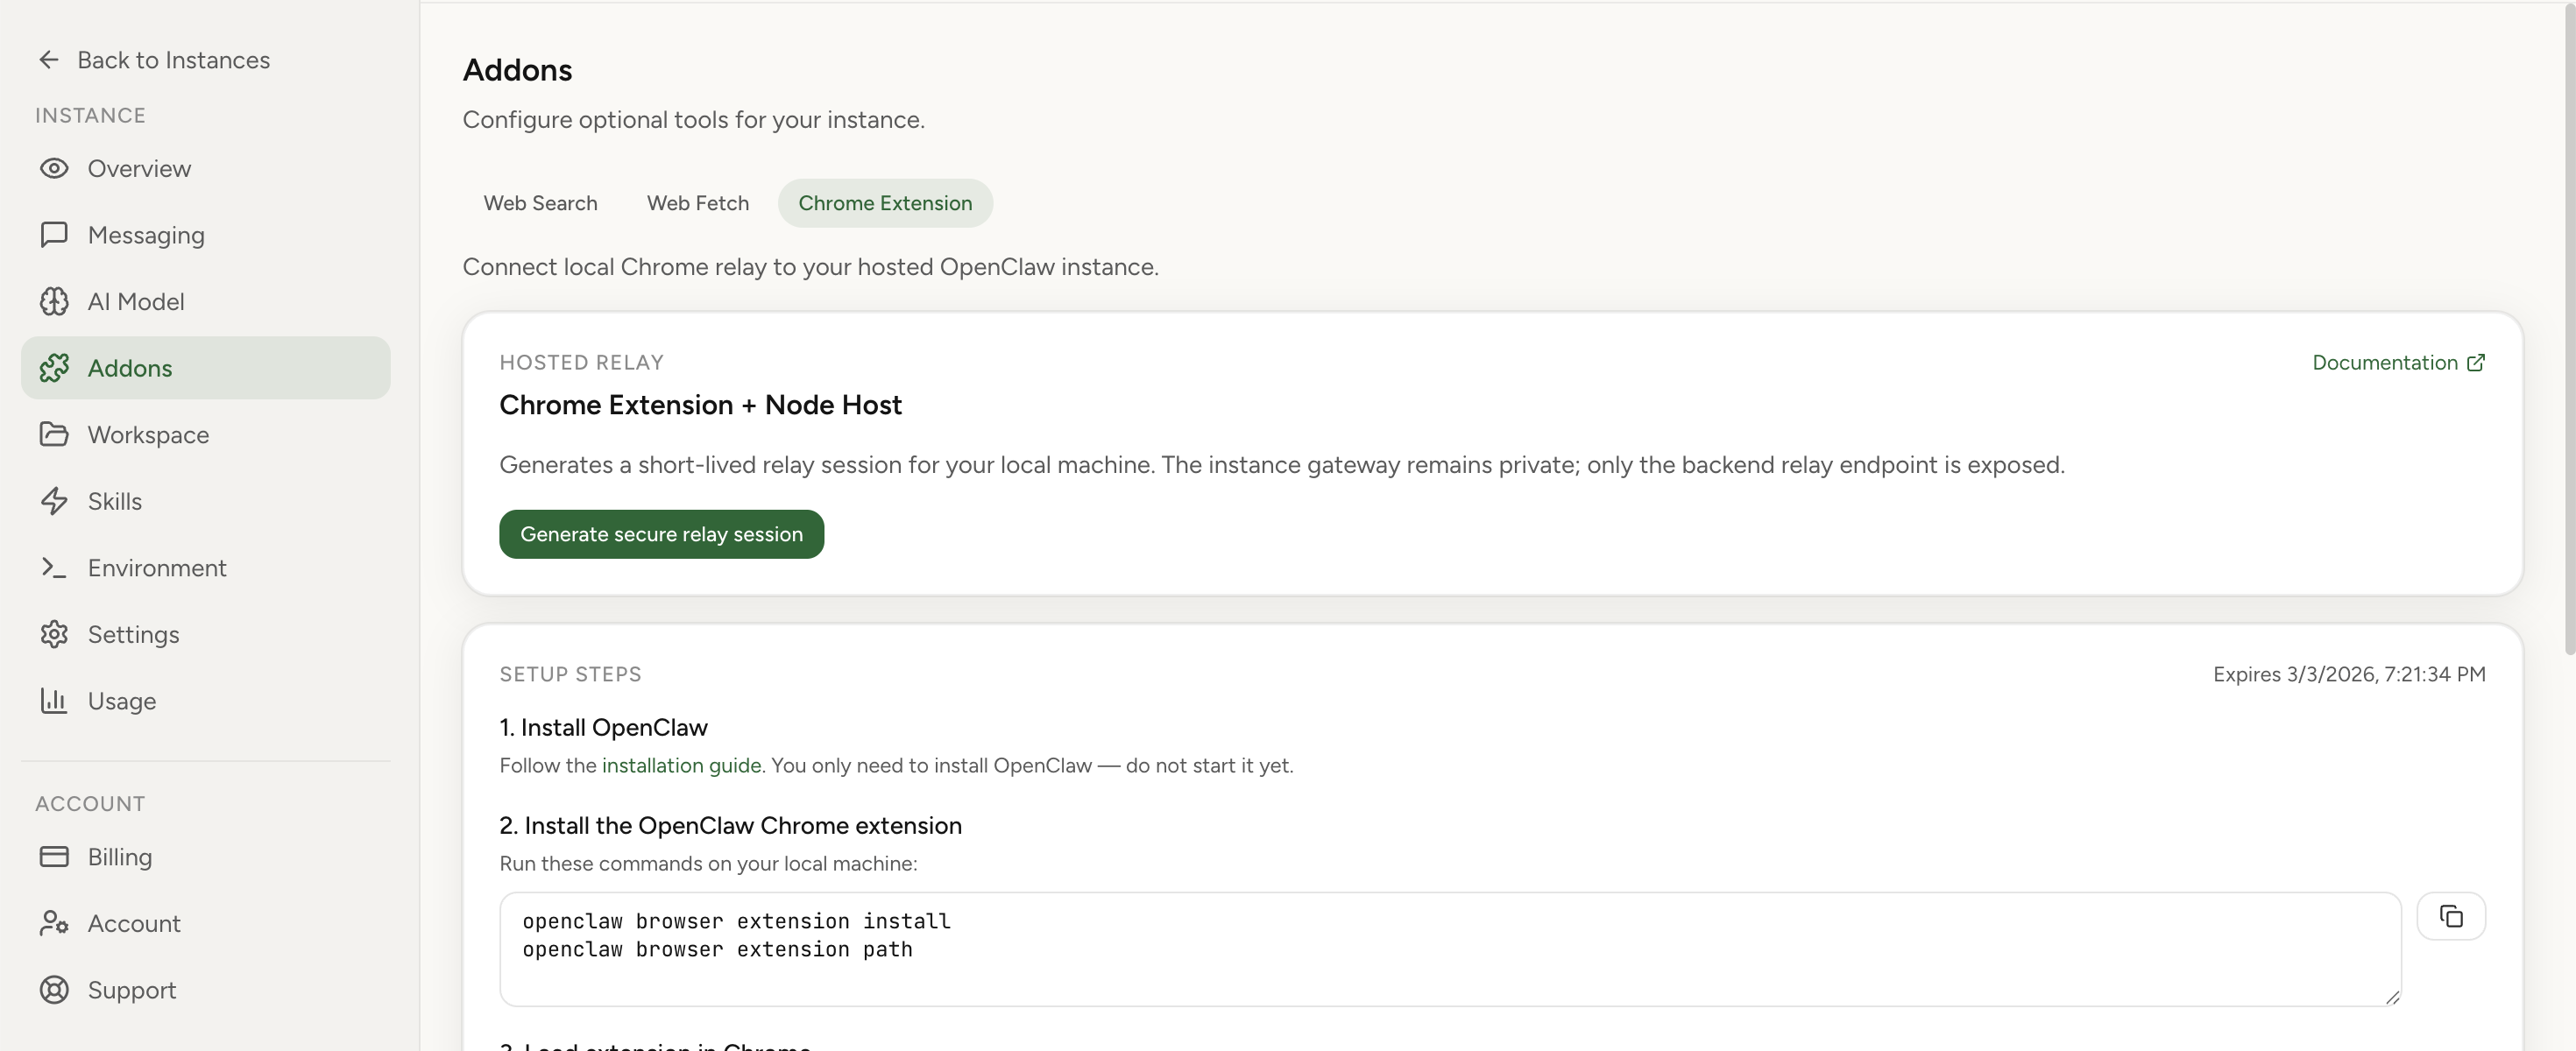
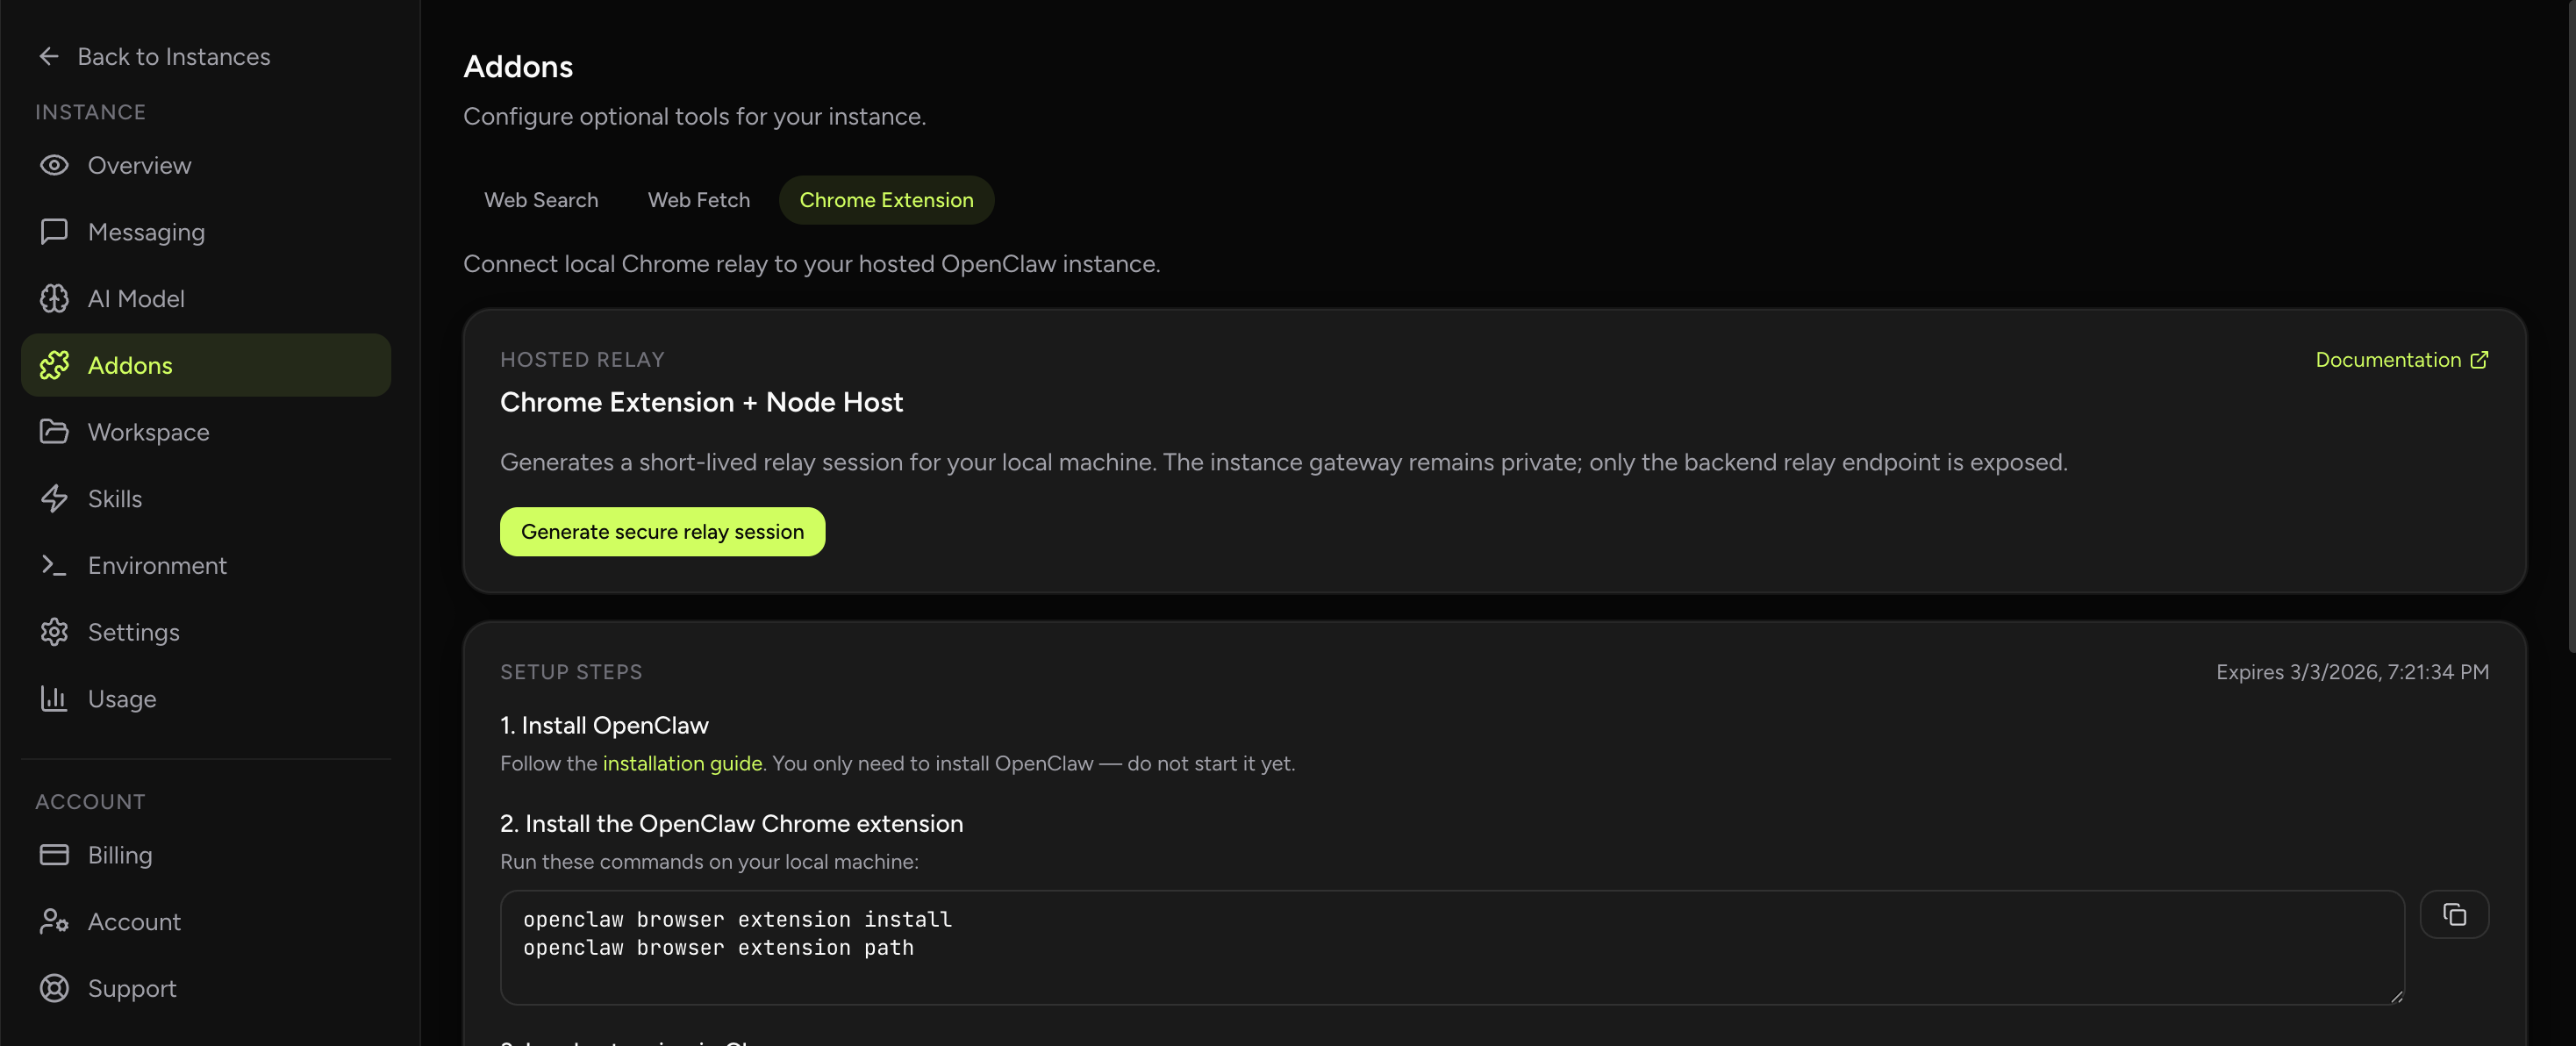
- Backend creates relay session: You request a session from the hosted dashboard. The backend validates that you own the instance,
that the instance is running, and then returns a short-lived relay token with the WebSocket URL and the
openclaw node run --role browsercommand template. - Node host connects to relay: You run the node host command locally. It connects to
wss://<instance_id>.relay.openclaw-setup.mewith the relay token in the query string. - Relay validates and proxies: The relay backend validates the token, checks instance ownership, confirms the instance is running, and then proxies WebSocket frames to the in-cluster gateway.
- Gateway token injection: When the node sends a
connectrequest frame, the relay injects the realinstance.gateway_tokenserver-side. The client never handles this credential directly. - Extension authenticates with gateway token: You copy the gateway token into the Chrome extension options. The extension uses this token to authenticate directly with the gateway.
- Tab attach and control: You attach the extension to a specific tab, creating an explicit control relationship. The agent can now list tabs, focus, and perform actions on the attached tab.
Evidence from the field: operational patterns that work
Internal deployment notes from hosted relay usage show clear patterns in what works and what causes confusion:
- Token confusion is the most common error: operators accidentally paste the relay token into the extension options instead of the gateway token. The security model explicitly separates these for good reason, but the distinction must be communicated clearly.
- Tab lifecycle matters more than connection state: a relay connection can survive short drops, but if the browser is restarted or the tab is closed, the agent needs to re-attach to a valid tab. Teams that document this explicitly have fewer incidents.
- Instance ownership checks prevent lateral movement: the backend validates both user ID and instance ID before creating a session. This means one compromised relay token cannot be reused to access other instances.
- Running instance checks prevent stale sessions: paused or stopped instances are rejected at session creation time, reducing the chance of zombie connections attempting to interact with non-existent runtimes.
Security checklist for production deployments
Before enabling browser relay
- Confirm your hosted instance uses isolated runtime boundaries with no public gateway exposure.
- Verify relay sessions are created with short TTL (10 minutes or less for production use).
- Document the difference between relay tokens and gateway tokens for all operators.
- Establish tab attach procedures: which tabs, under what conditions, with what operator approval.
- Plan for token rotation and session expiry in long-running workflows.
Common mistakes and how to avoid them
- Confusing relay token with gateway token: the relay token is for the node host. The gateway token goes in the extension. Mixing these up causes authentication failures that look like networking problems.
- Treating tab attach as optional: the extension does not assume global browser control. If the badge shows OFF, the agent has no valid tab target. Attach is a required security and correctness step.
- Ignoring session expiry: relay sessions expire. Long-running browser tasks need session renewal logic or they will fail partway through workflows. Plan for this upfront rather than debugging mysterious timeouts later.
- Assuming any tab works: the extension can only control tabs where it is explicitly attached. If the workflow assumes control of an unattached tab, it will fail with tab-not-found errors.
- Running node host in uncontrolled environments: the node host has access to your relay session. Run it on trusted hardware and consider whether the operational benefit justifies the risk in sensitive environments.
How to verify your relay setup is secure
- Check that relay sessions require authentication and fail for invalid or expired tokens.
- Confirm that paused instances cannot create new relay sessions.
- Verify that the gateway token is never visible in browser developer tools or network logs.
- Test tab attach behavior: confirm the agent cannot control unattached tabs.
- Validate session expiry: create a session, wait for expiration, and confirm the connection is rejected.
- Review instance ownership checks: try to use a relay session for a different instance and confirm it fails.
Edge cases to plan for
- Browser restart during active workflow: the agent loses its attached tab. The node host may still be connected, but without a valid tab target, actions fail. Workflow design needs to account for this or require explicit re-attach after browser events.
- Multiple Chrome profiles: the extension is profile-scoped. If you attach in one profile and try to control a tab in another, it will not work. Document which profile should be used for relay workflows.
- Concurrent tab operations: if multiple agents try to control the same tab through different sessions, behavior is undefined. Establish clear ownership rules for tabs used in automation.
- Network instability: the WebSocket connection between node host and relay can drop. Reconnection logic should handle this gracefully, and workflows should be resilient to brief connection interruptions.
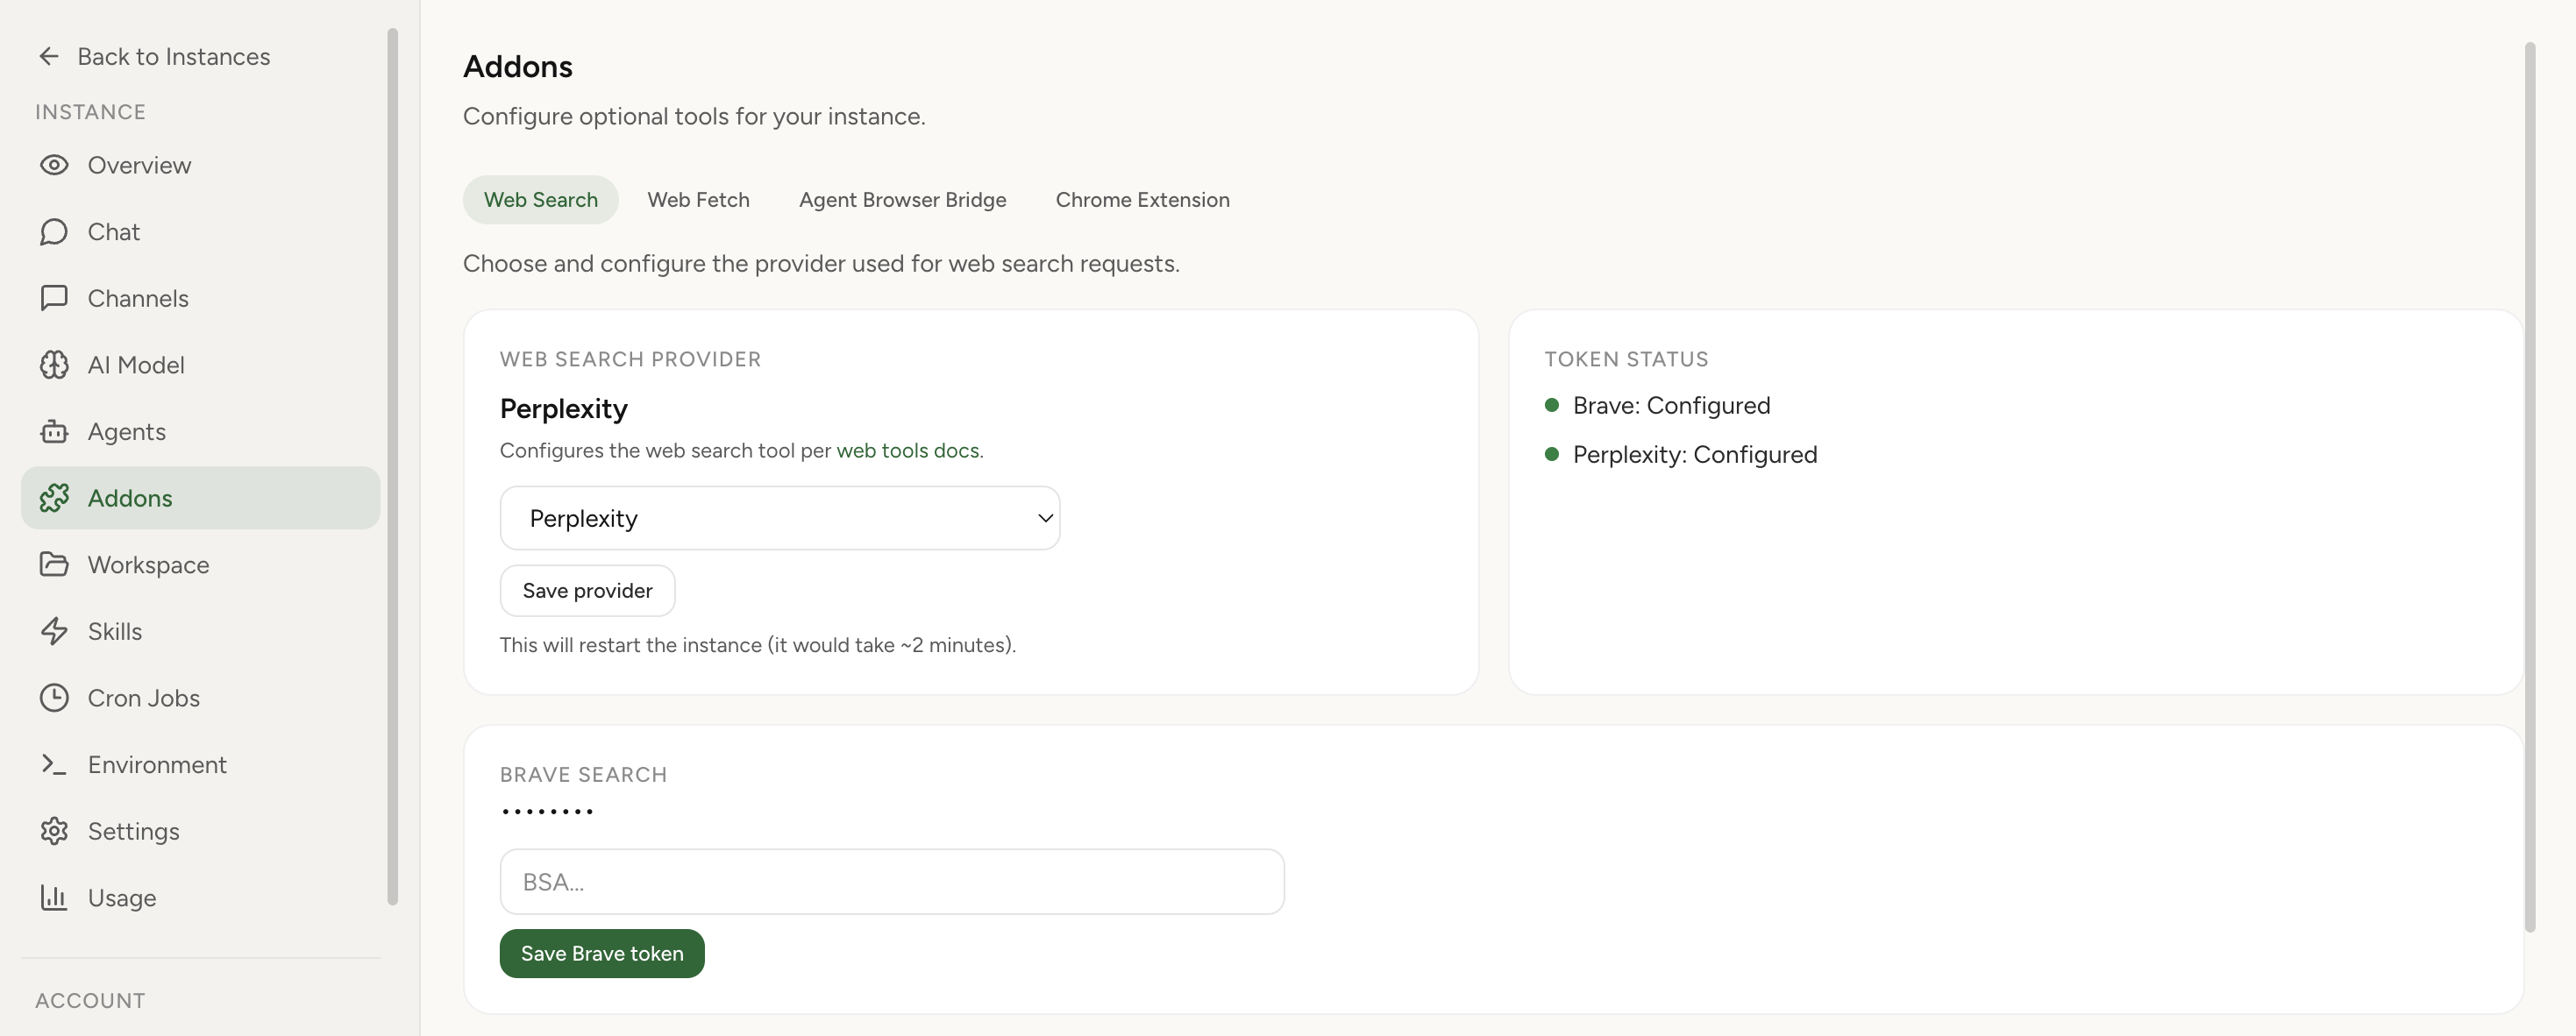
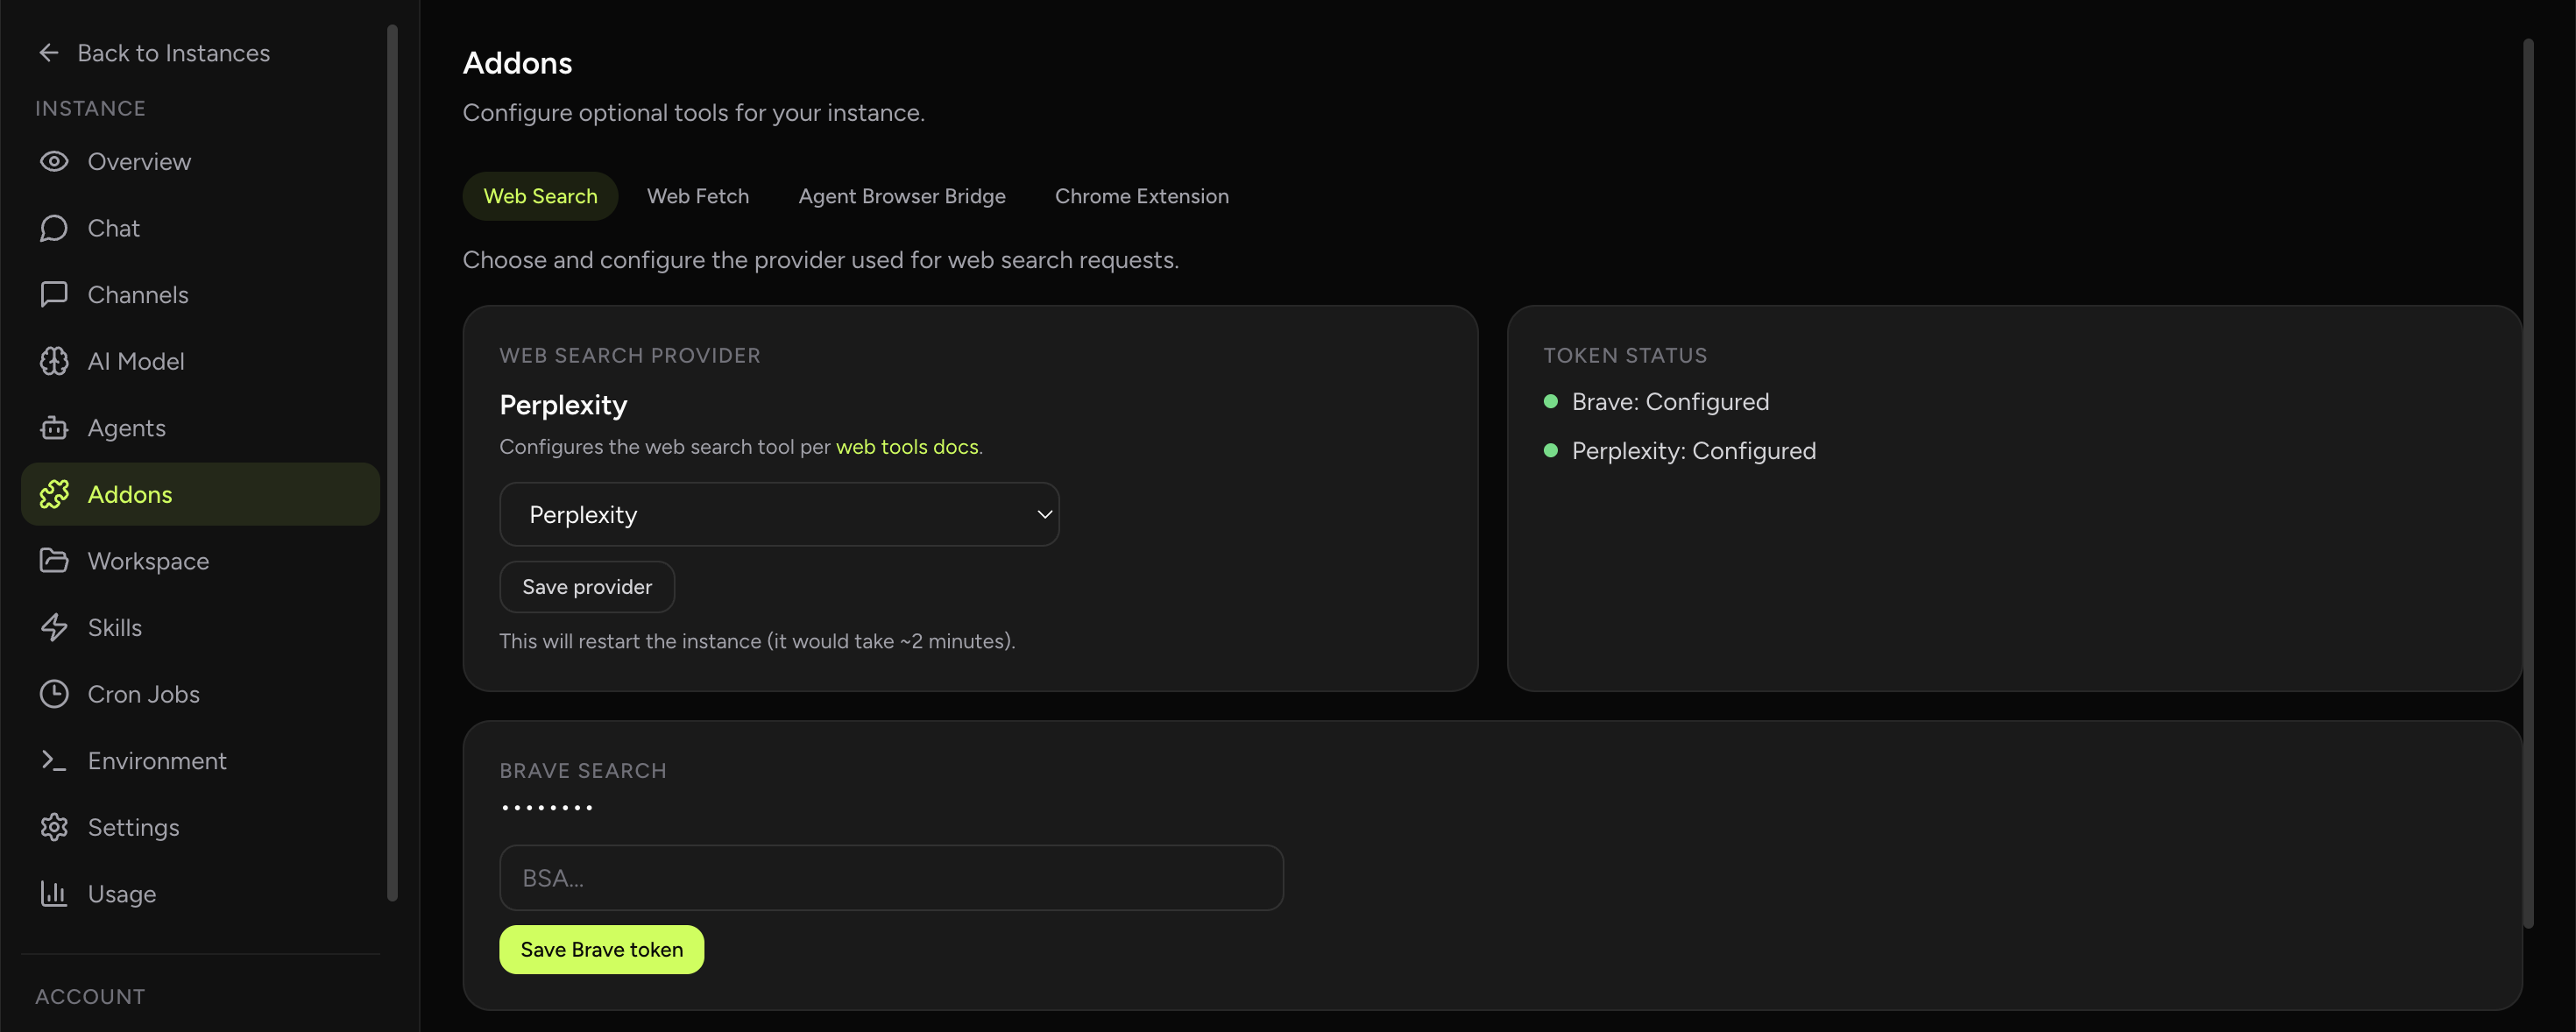
If you want to use hosted OpenClaw with real browser access, start at the hosted dashboard to create your instance and generate a relay session from the Addons tab. For the full architecture perspective, see Chrome Extension relay architecture. For setup walkthroughs and troubleshooting, visit the Chrome relay feature page.
Import your current OpenClaw instance in 1 click
Move your existing workflows to hosted infrastructure with secure relay sessions for browser access. Keep your context while gaining managed operations and clearer security boundaries.
FAQ
Does the relay backend have access to my browser data?
No. The relay backend proxies WebSocket frames between the node host and the gateway. It does not see or interact with your browser content directly. The Chrome extension communicates with the gateway using the gateway token, and the relay only handles the transport layer.
Can I use browser relay without managed hosting?
Yes. The relay architecture is independent of hosting. However, managed hosting provides the backend infrastructure and session management, so self-hosted setups would need to implement their own relay backend or use local-only browser control.
What happens if my relay session expires during a long workflow?
The WebSocket connection will close. Your workflow should handle reconnection logic: create a new session, restart the node host, re-attach the extension, and resume from a known good state. Design workflows to be resilient to session boundaries rather than assuming indefinite connections.